I love crafting — it’s one of my favorite ways to channel creative energy, and they make perfect gifts. I was thrilled when my mom asked me to craft a key holder for her while I was staying with her this summer. I’ve made two other key holders for my past apartments, and it’s one of the easiest crafts I’ve ever done. If you’re always losing your keys, this is the perfect thing to hang by your door or in your bedroom to ensure you’ll never be late for work again (or at least not late because you couldn’t find your keys).
Materials
Canvas (Any size will do, this one is 4″x12″.)
Fabric (Again, pick your favorite style! You can also paint it if you prefer that look — both work really well, using a canvas just saves time.)
Hot Glue Gun & Glue (if you’re not painting it)
Paint (I prefer black, but you could do any color depending on the background.)
Paint brush
Cup Hooks
If you want to cut out a stencil for your letters, you’ll also need:
Computer & Access to Fonts
Printer & Paper
Exacto Knife
Tape

Step One
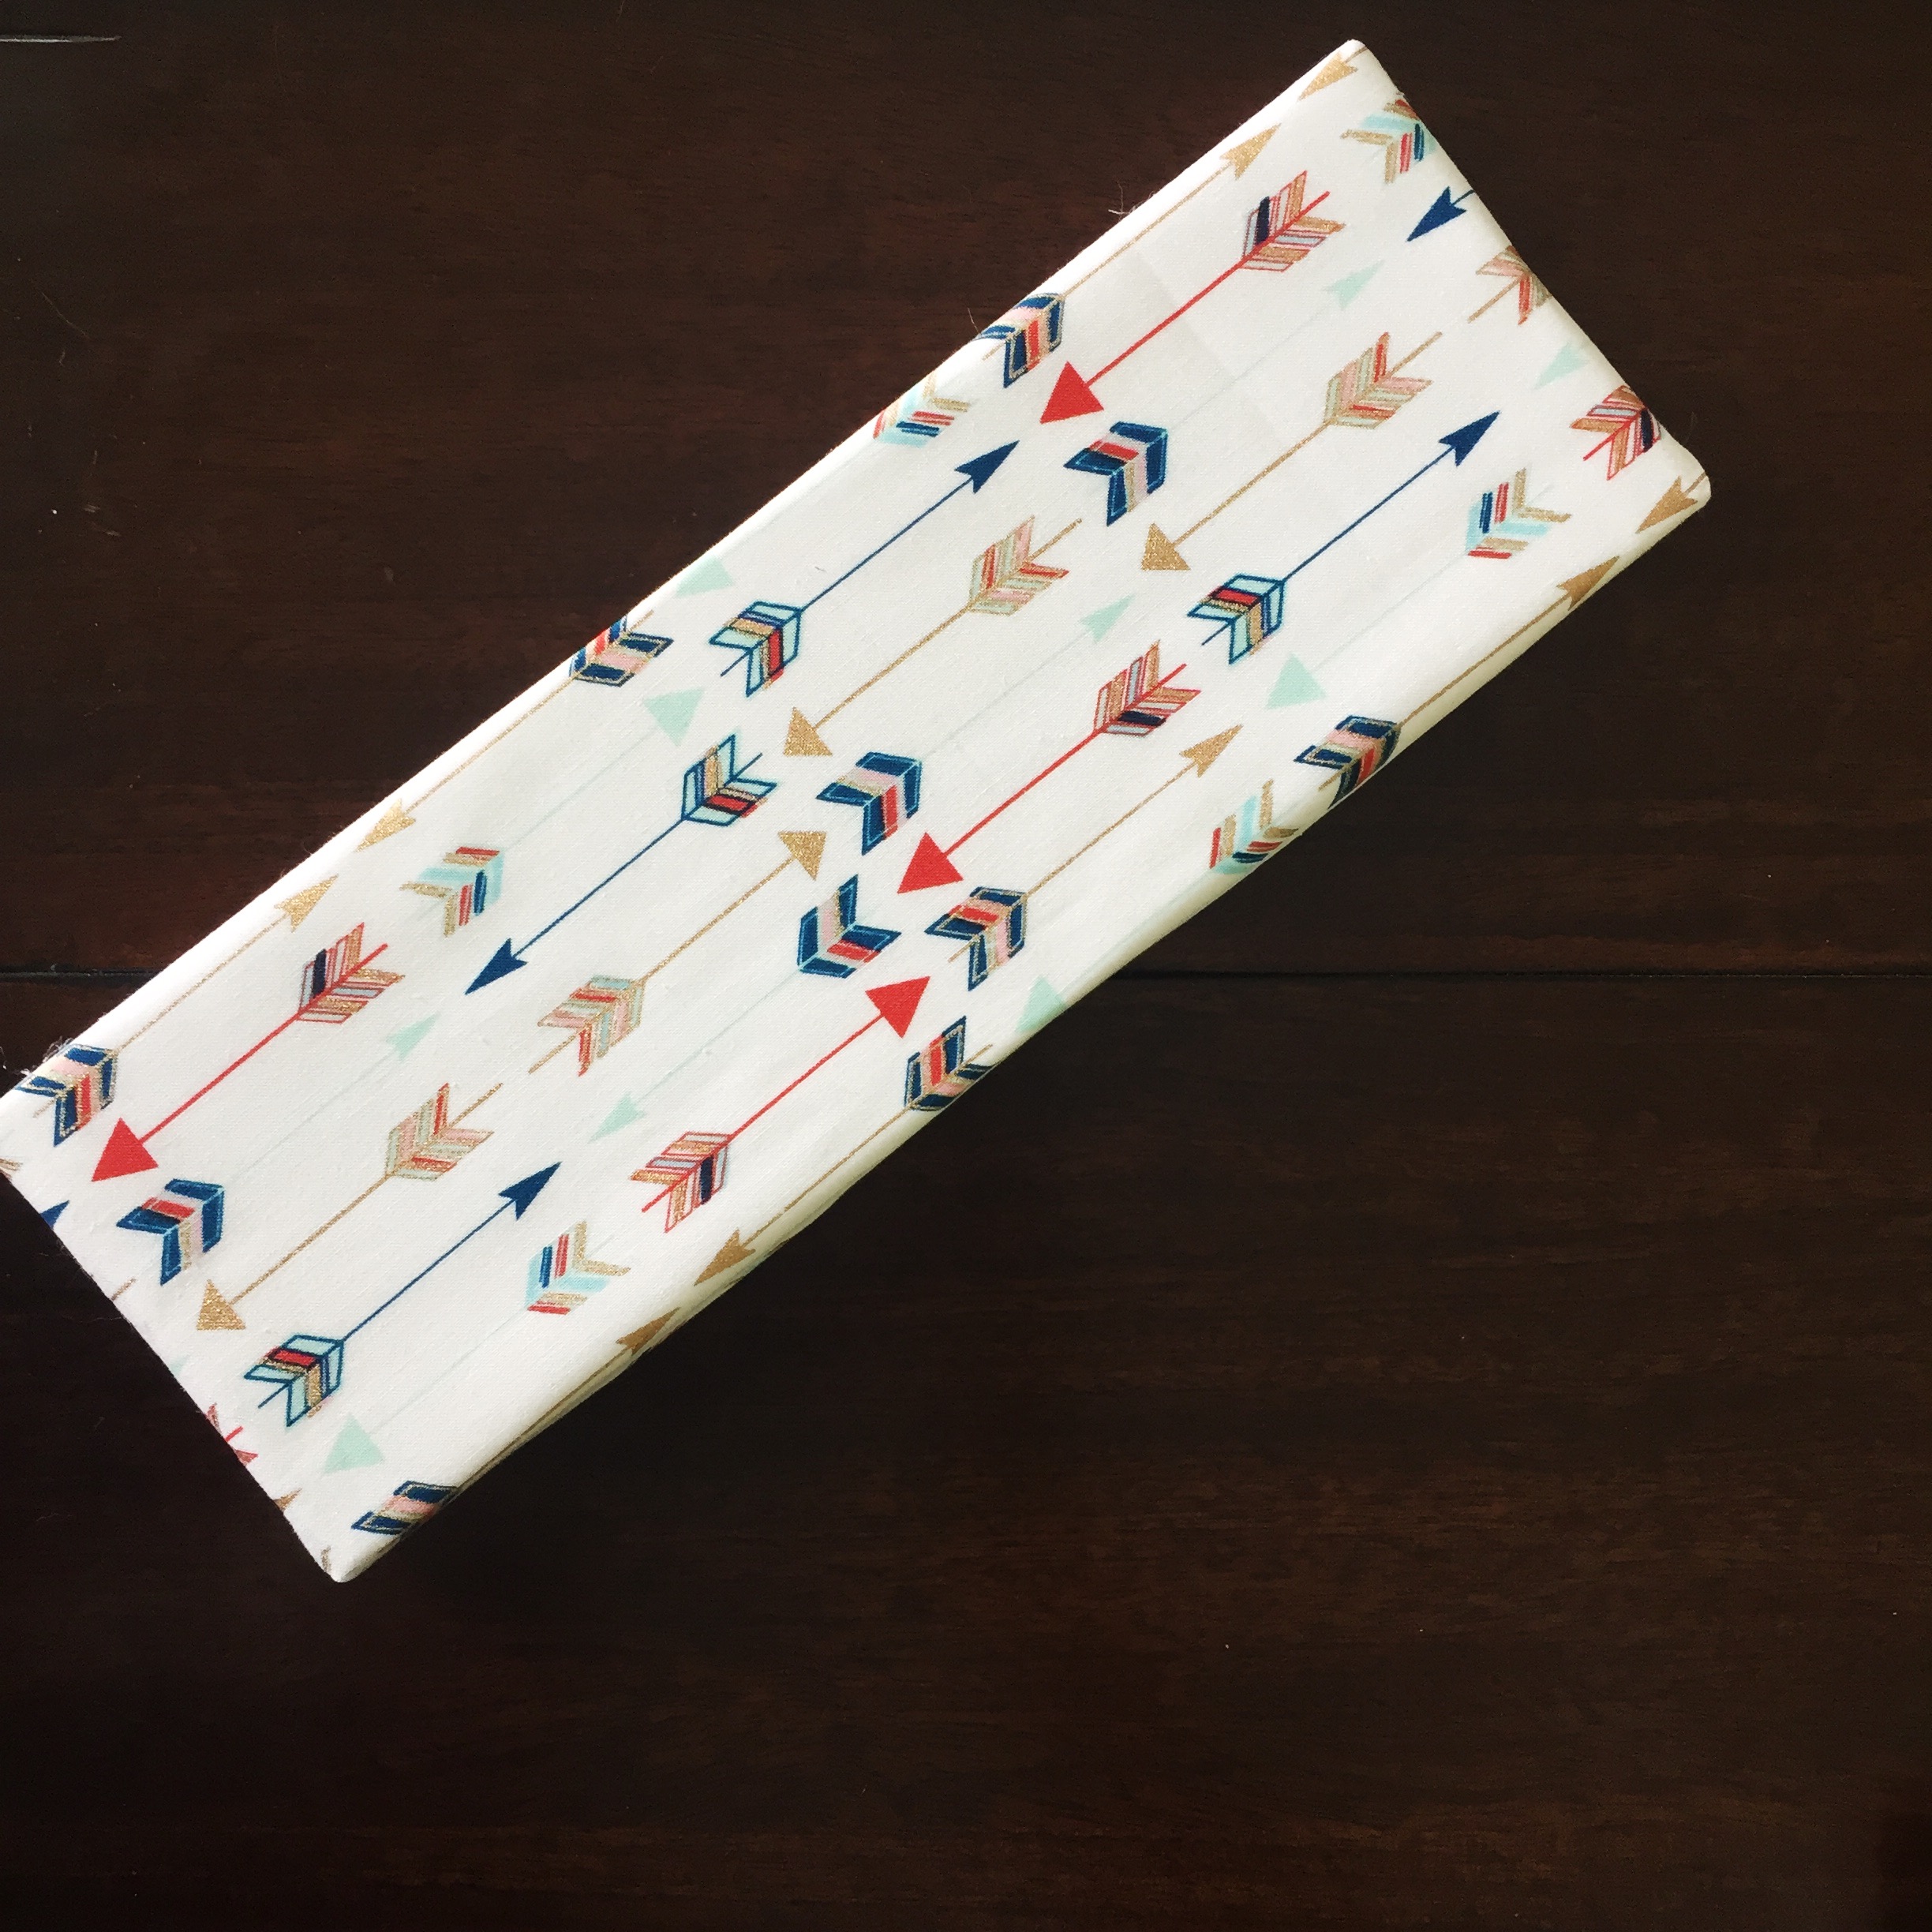
Cover your canvas with fabric, and hot glue down the sides. If you have a printed fabric like mine, make sure the print is facing the direction you want it in and the pattern is straight. If you are painting it, just paint it however you would like.

Step Two
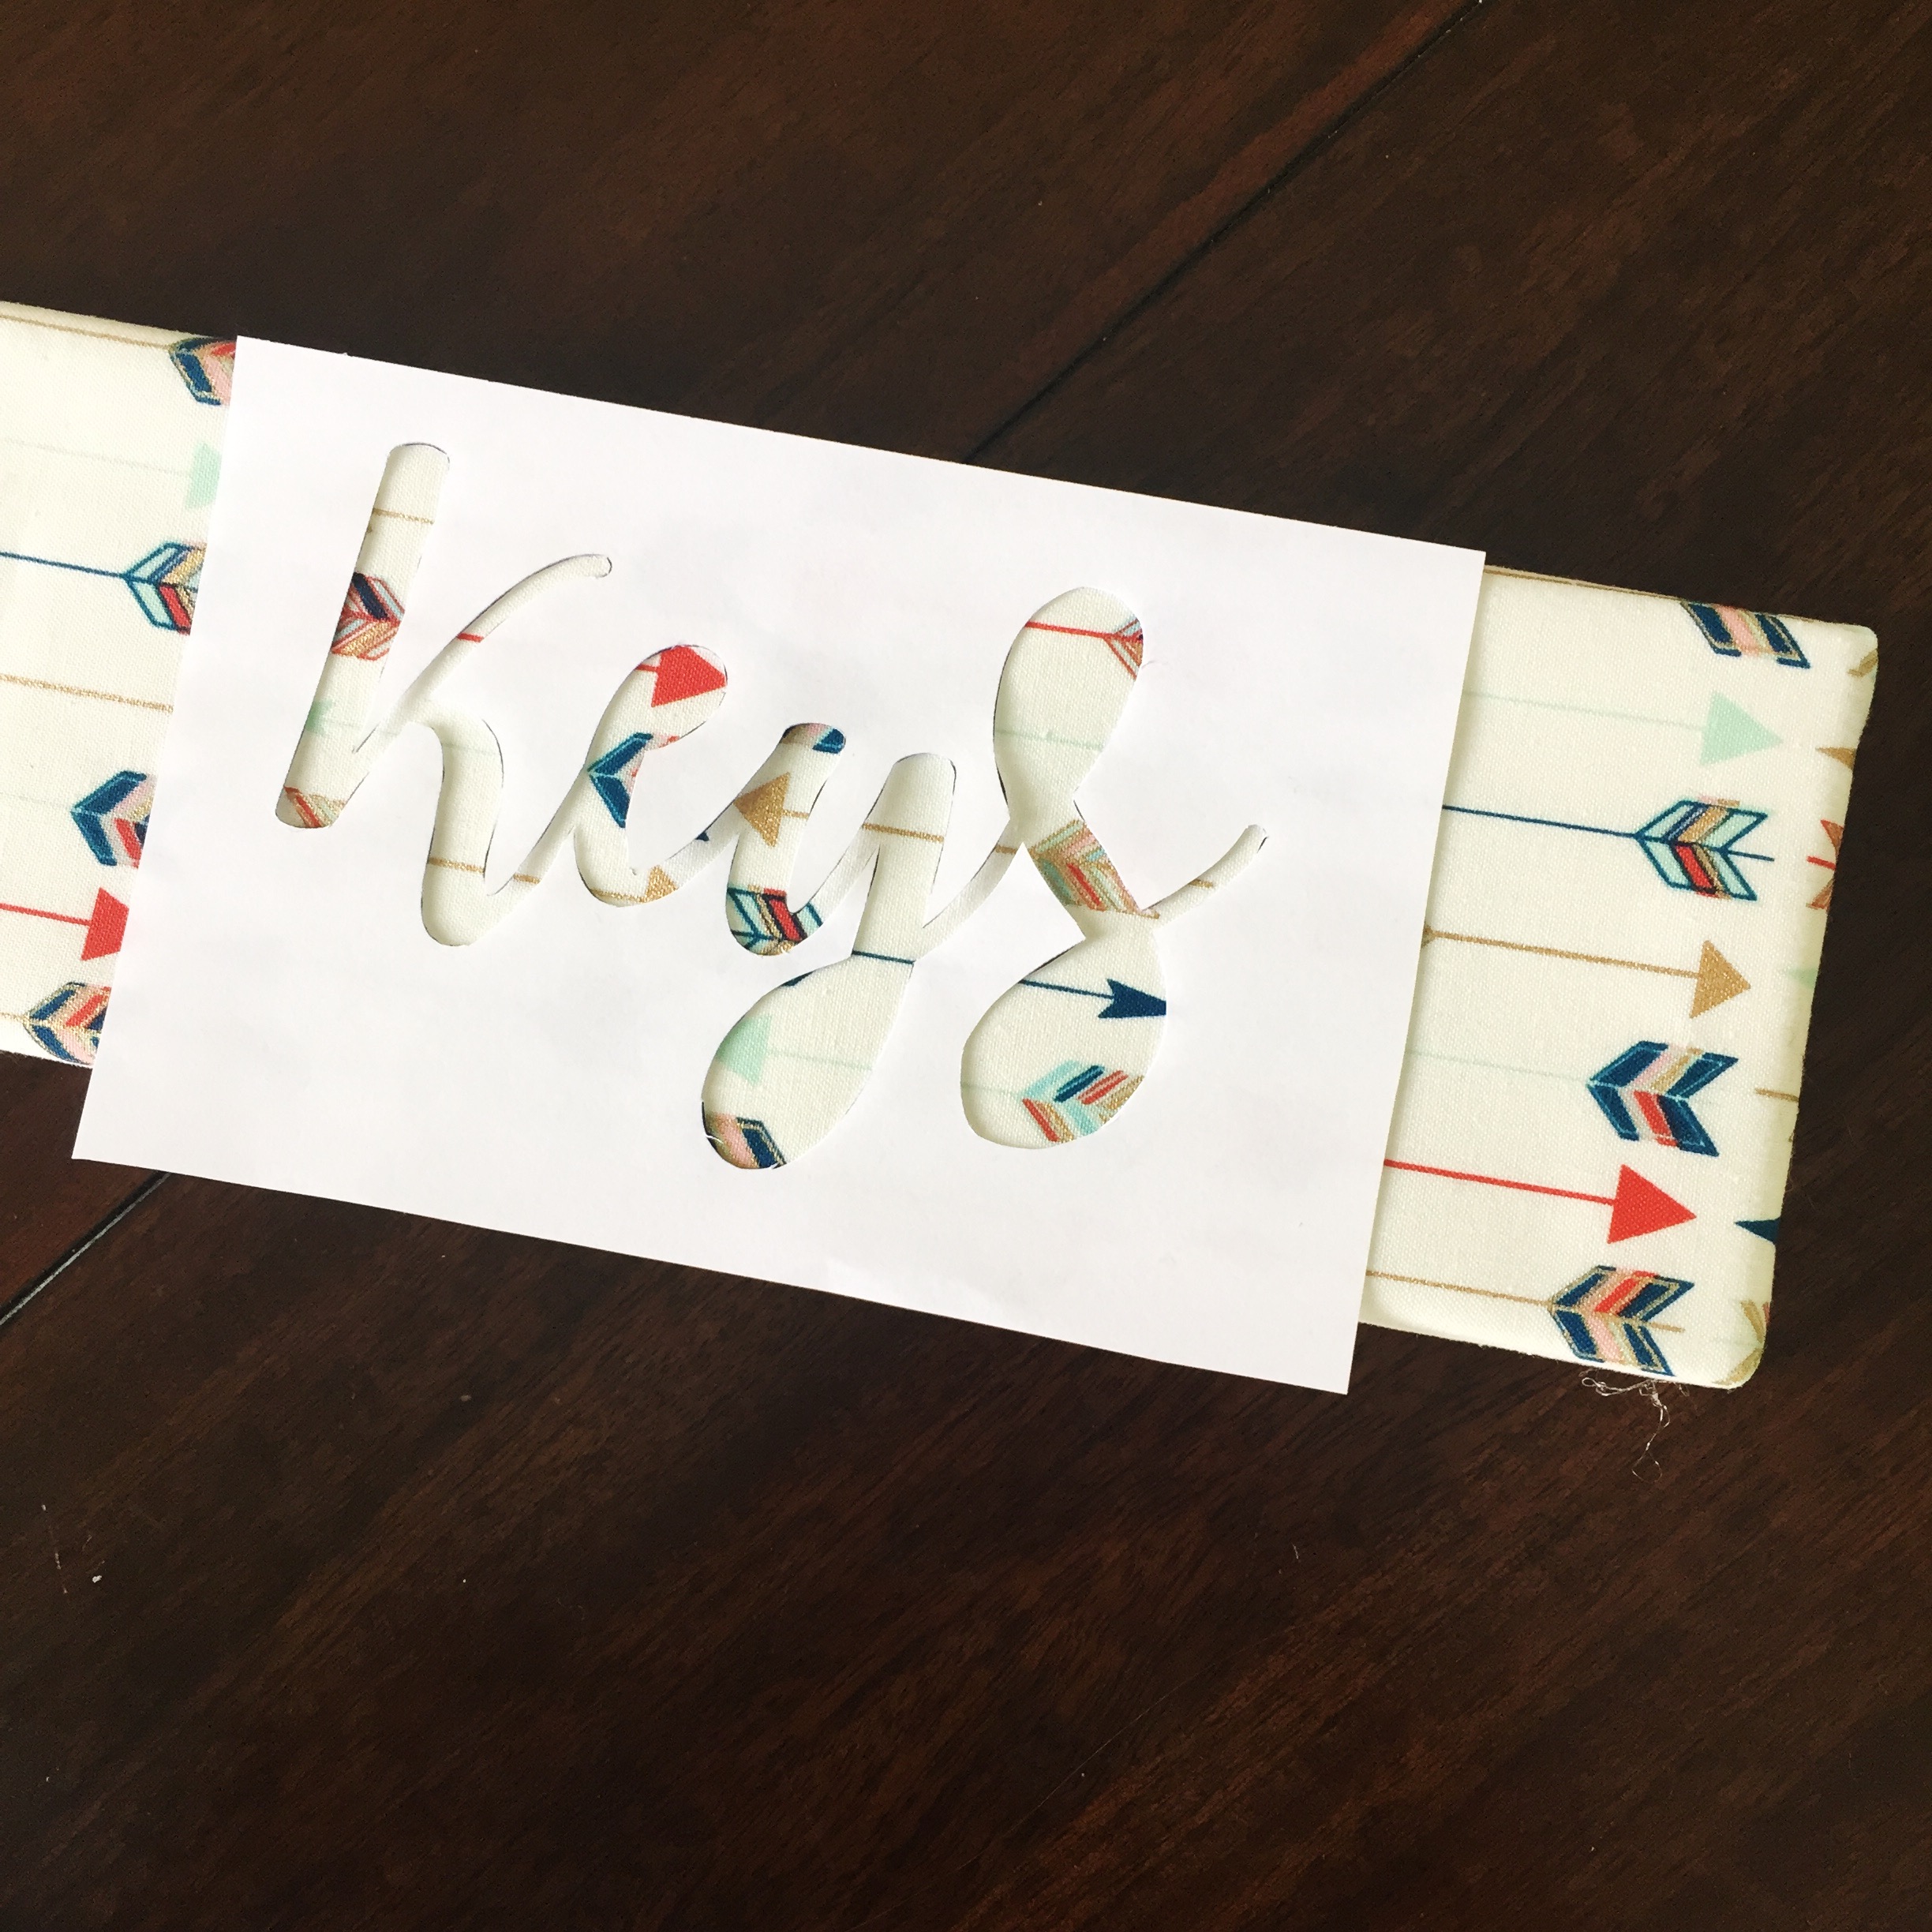
Personally, I am not great at manipulating my handwriting to make it look like script, so I opt for using a homemade stencil for a project like this. You can also use stickers or free hand it if you’re comfortable with that. If you do want to make a stencil, all you have to do is find the font you want (I used DaFont.com), put it in a Word document (or InDesign for those designers out there), size it to match your canvas and print it out. Then, using an exacto knife, (carefully) cut out the letters so that where they were is negative space. I also place a mat under my paper while cutting out the letters, so I don’t damage any surfaces.

Step Three
If you freehanded your lettering or used stickers, skip ahead to Step Four. If you decided to make a stencil, you’ll have to complete this step.
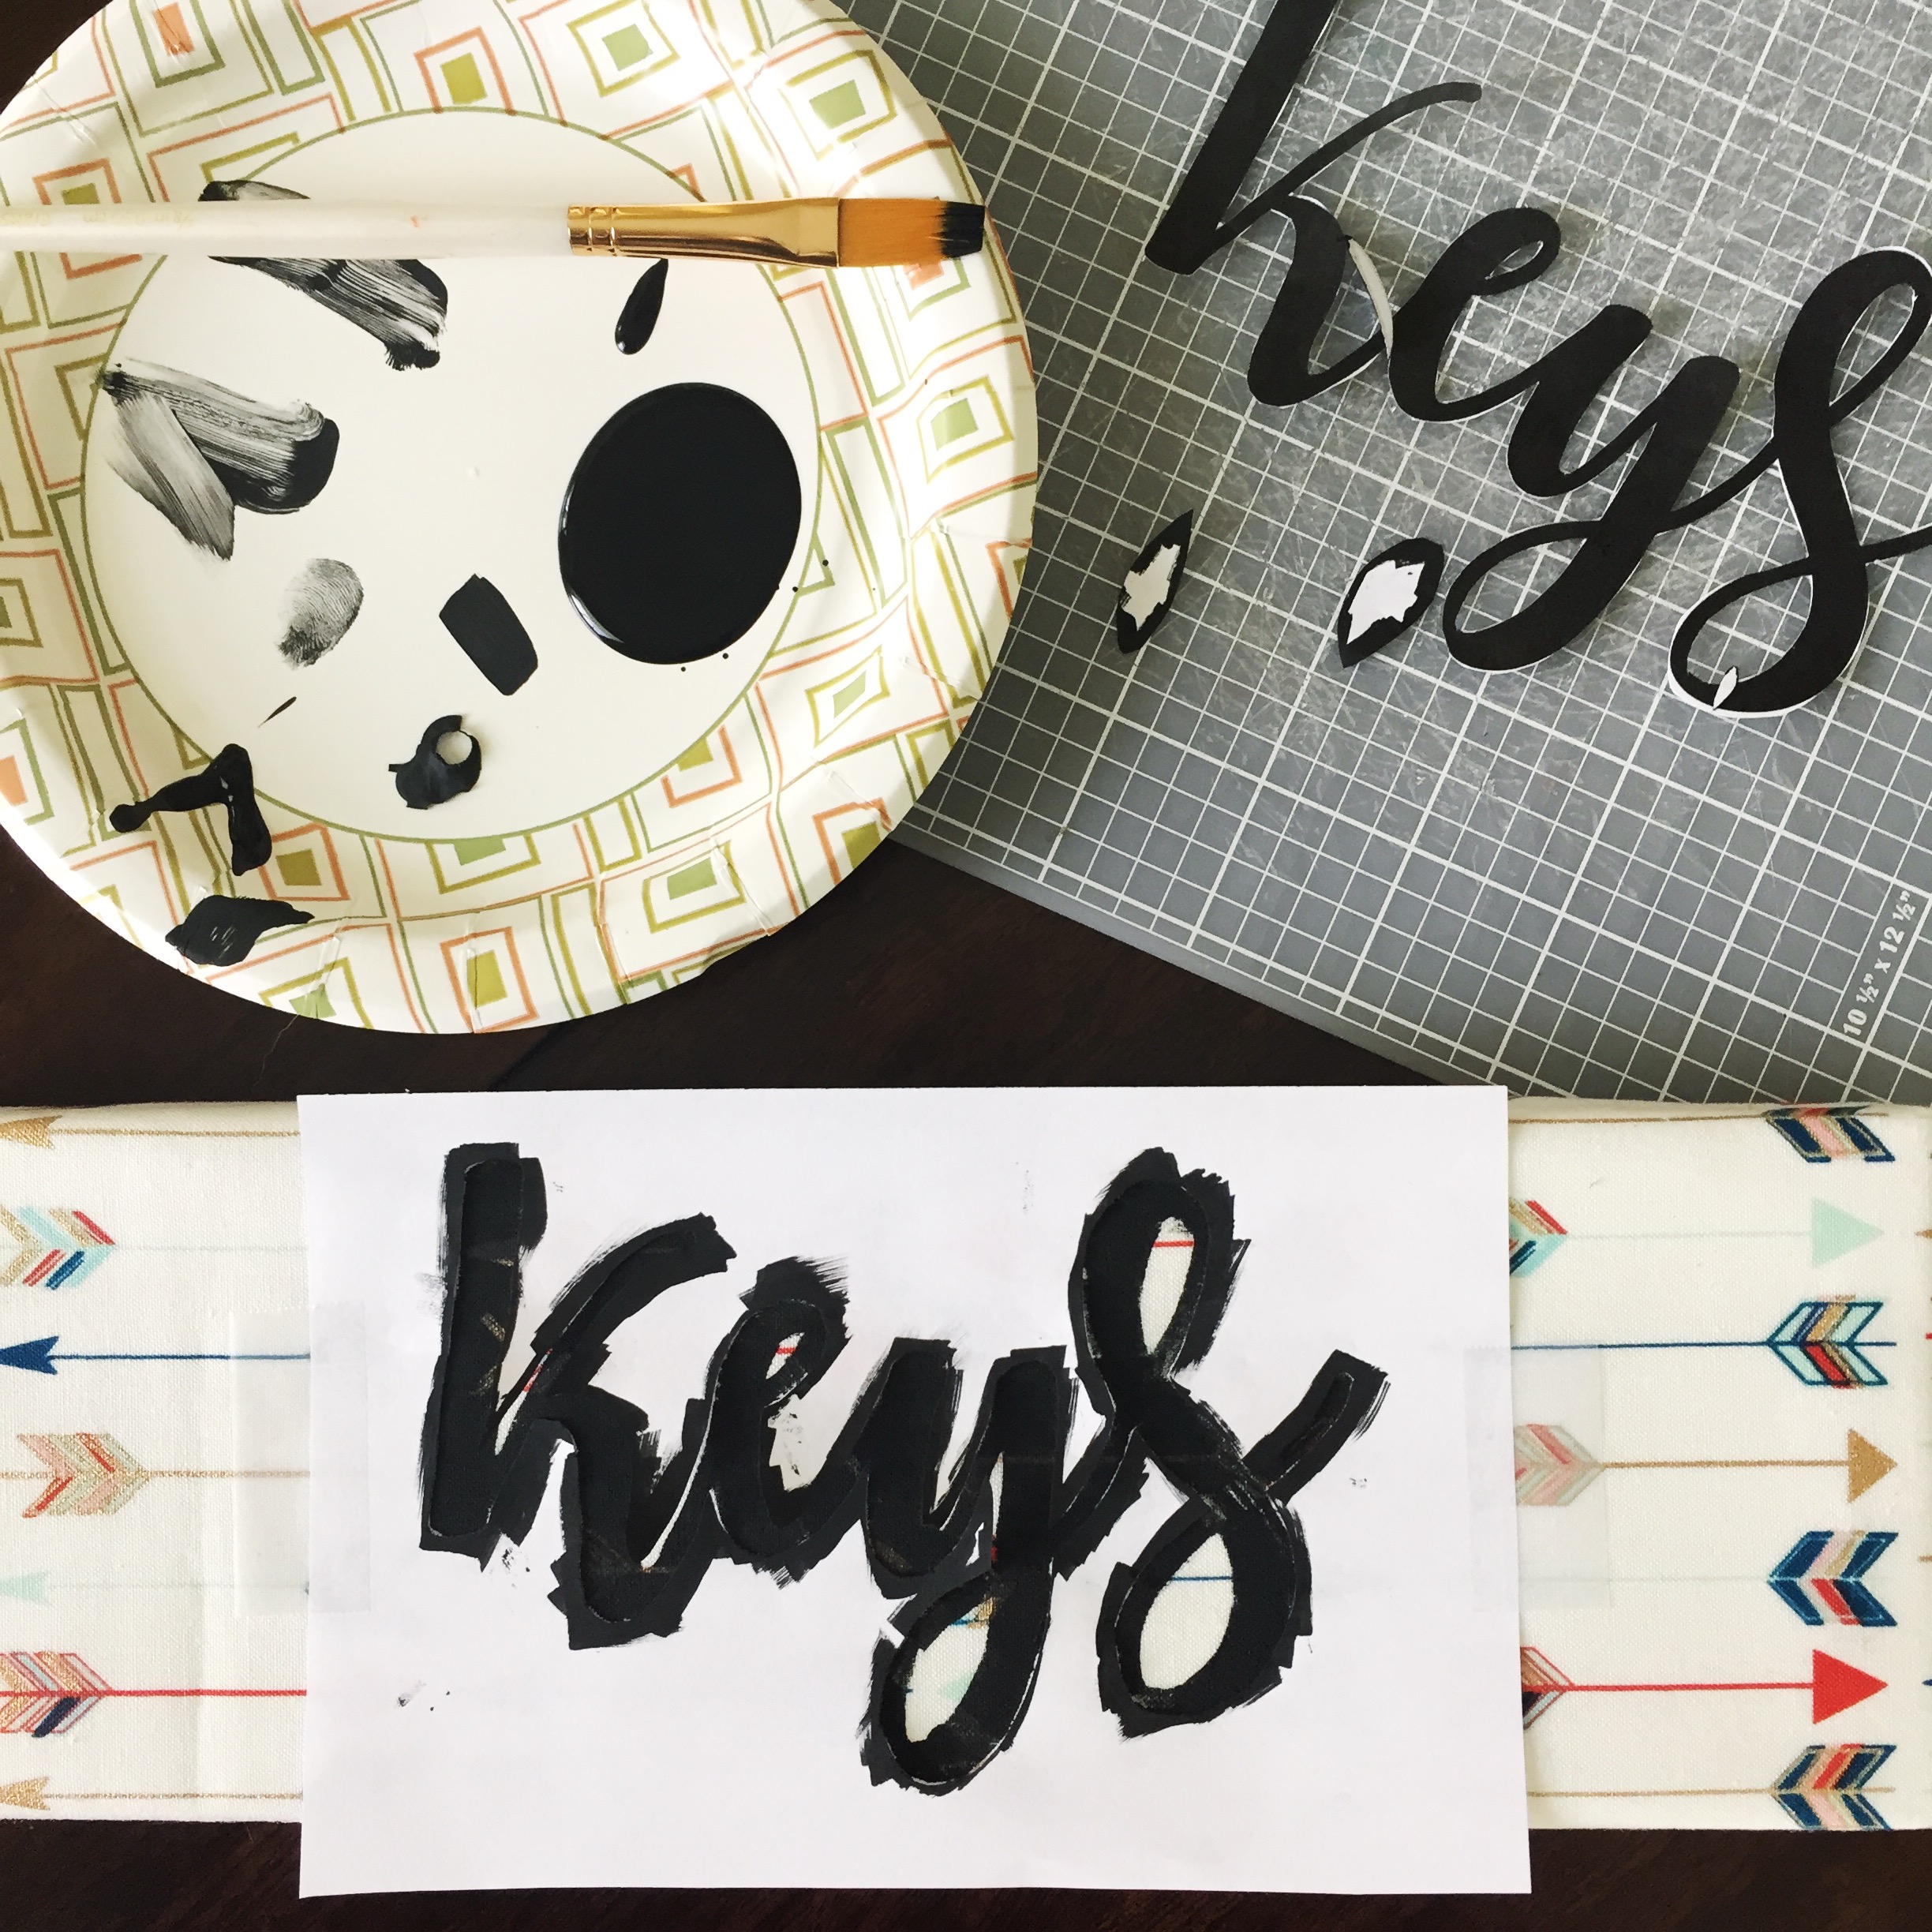
First, tape down your stencil on the sides — this ensures it won’t move mid-painting. Next, carefully fill in the negative space by painting in the stencil. With a word like “keys,” you’ll have some white space in the letters themselves (like in the “e,” “y,” and “s”). Make sure to keep those pieces, and hold them in place while you paint in the stencil. After removing the stencil, you can clean up any mistakes.

Step Four
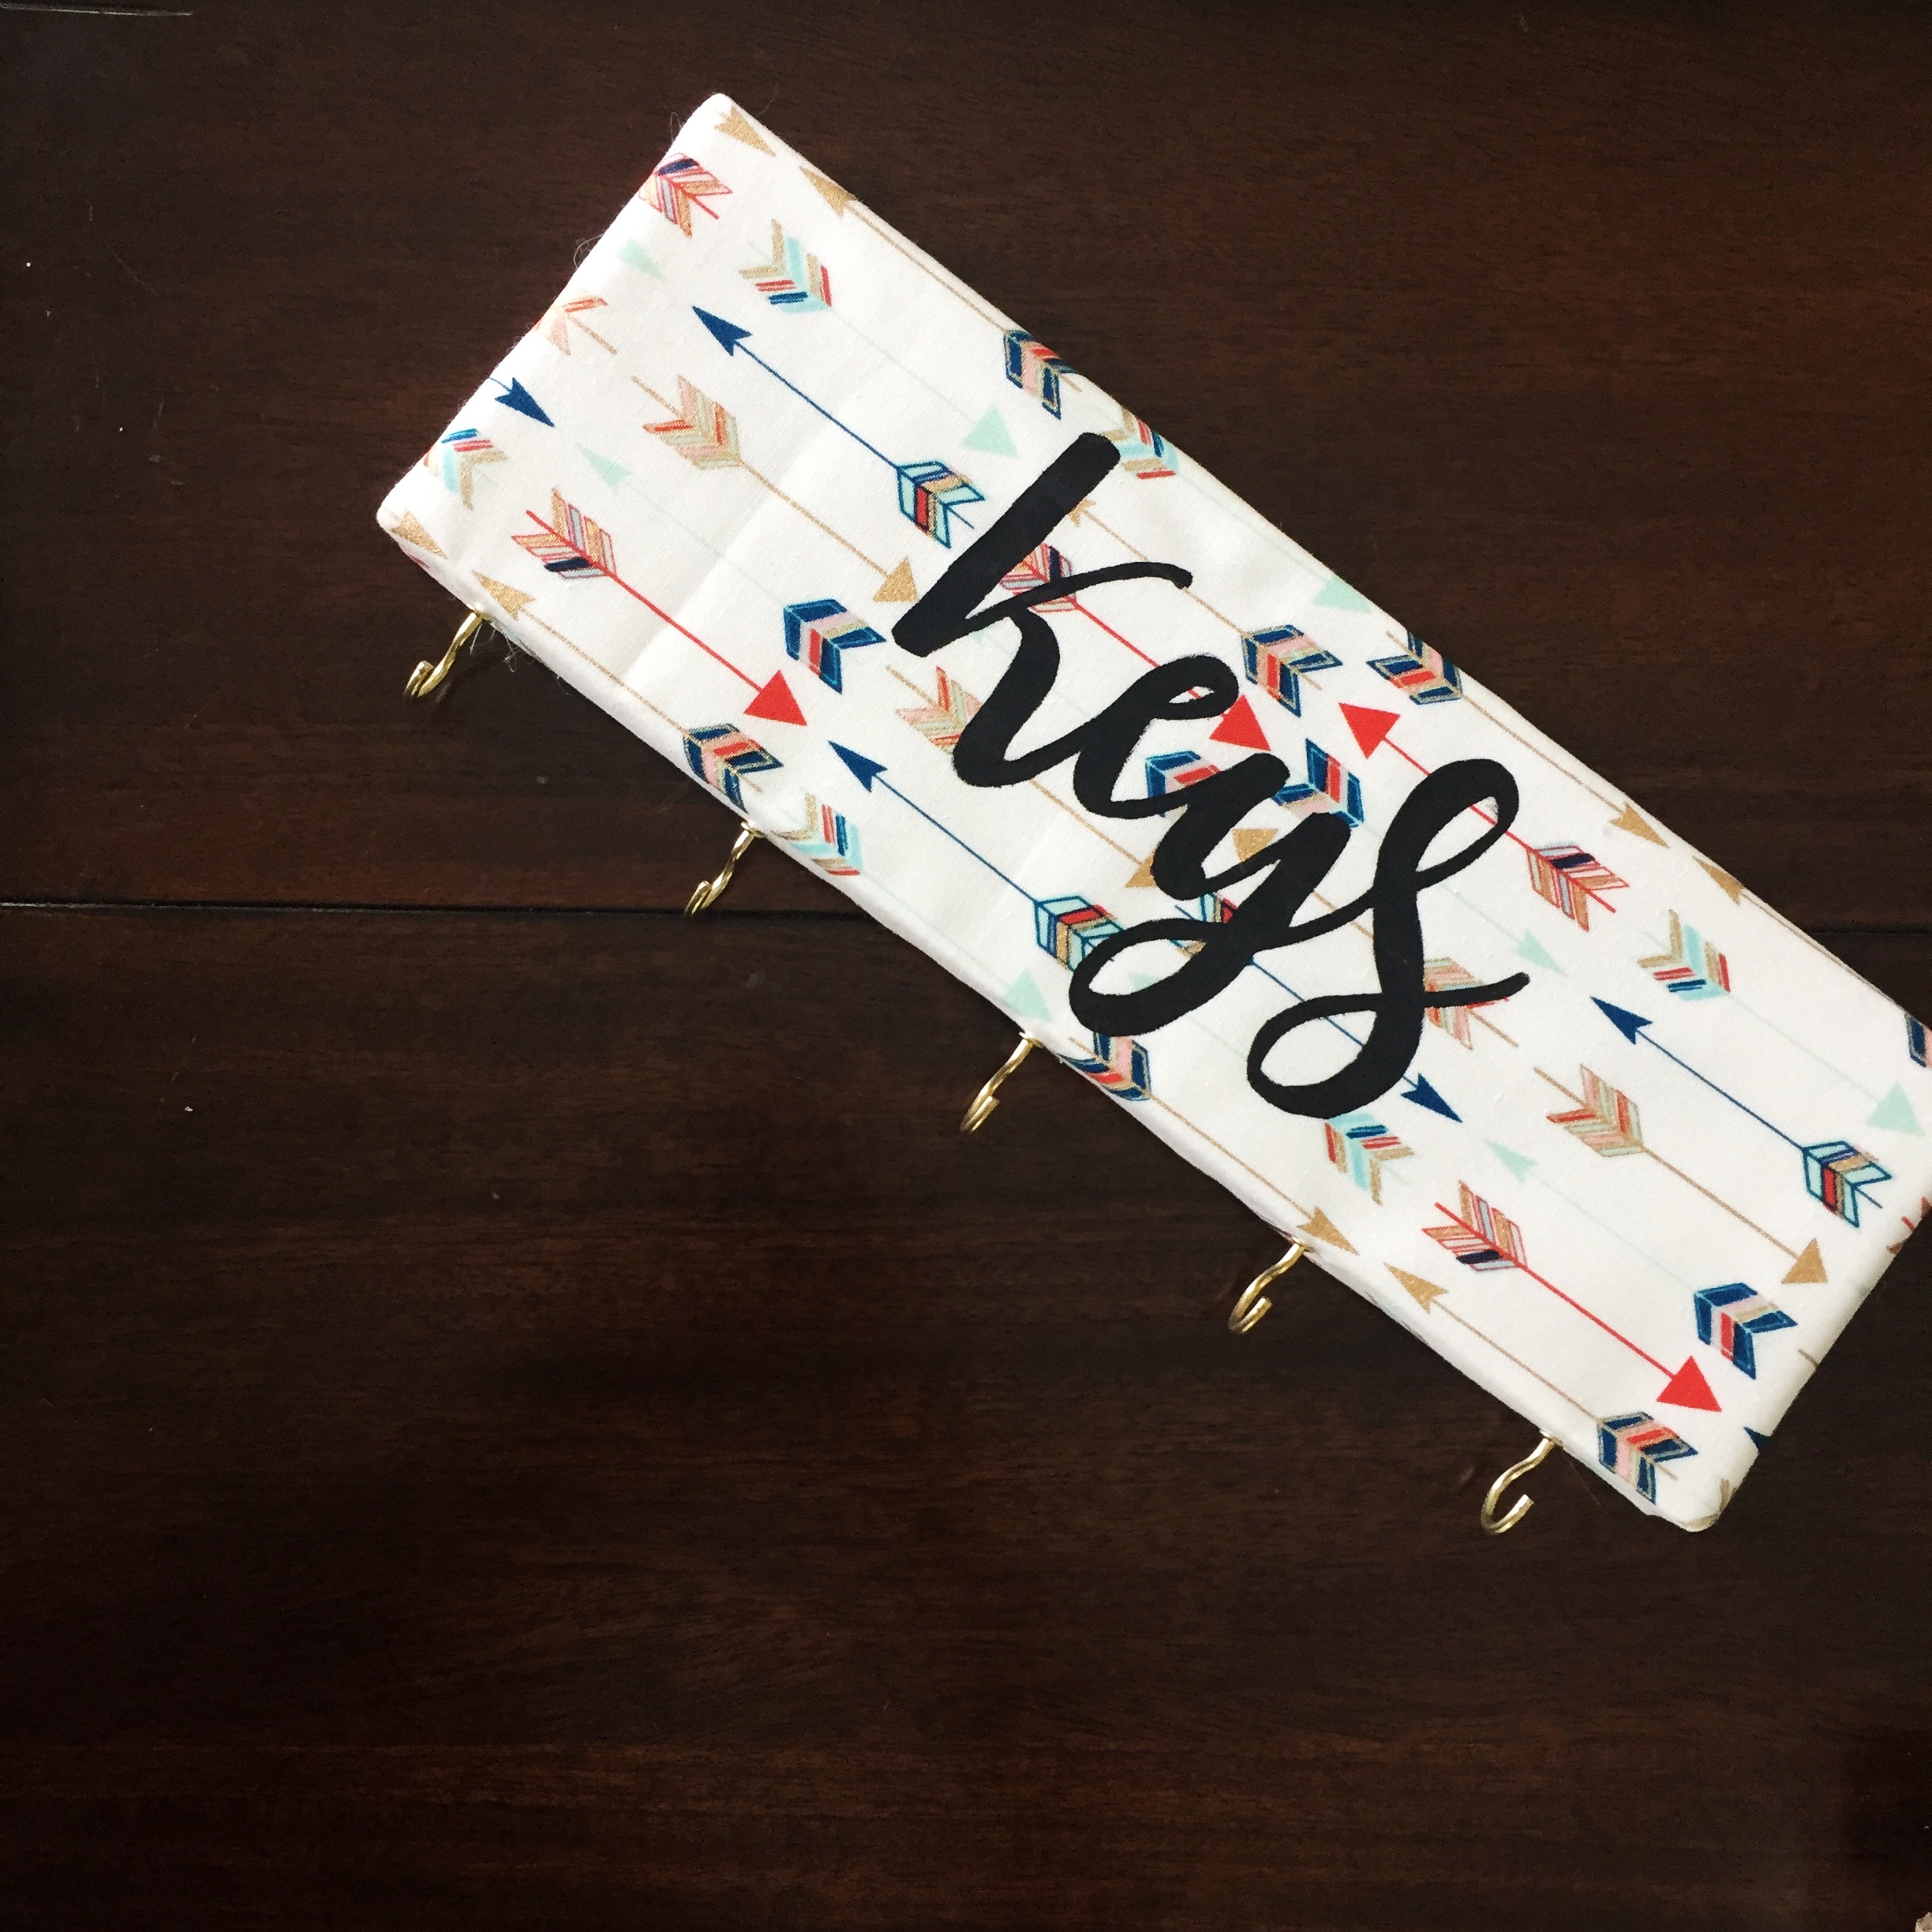
Screw cup hooks into place. You can have as many or as few as you’d like, my mom just has a lot of keys. Then, you can hang your creation anywhere you see fit.
Let me know how this craft worked out for you in the comments below!
Happy crafting,
Kimberly
