Between buying gifts, picking out the perfect Christmas ornaments, and partaking in special holiday treats, this time of year can get pretty expensive. So, instead of spending my hard earned cash on new holiday decor for my home this year, I decided to save some money by doing DIY crafts that can last for years to come. I made all of these crafts for under $50.00, and you can too by utilizing items you already have in your house or borrowing from friends and family.
These are mainly holiday-themed, but definitely lean more toward the Christmas side of the holidays. BUT they are adaptable! Change the colors of the ribbon used in the wreath, and it can be a decoration piece all year round. Paint the mason jars different colors, and they work for any holiday or season. Colors and embellishments are always recommendations, never requirements. Copy these crafts step-by-step or tweak details here and there to make them your own completely. Let’s get started!
Christmas Wreath
Materials
Styrofoam Wreath
Ribbon (1-2 Spools)
Greenery
Hot glue gun & glue sticks
Step 1
Secure the end of the ribbon onto the styrofoam ring with a dab of hot glue. Then, wrap the ribbon all the way around the ring slightly overlapping the edges. When you’ve wrapped the entire ring with ribbon, secure with another dab of hot glue. This is optional, but I did a second wrapping of ribbon around my wreath to make it a bit less boxy.
Step 2
Hot glue your embellishments on or leave it be. I chose to go with a main burlap flower with greenery surrounding it. I actually had to detach all the greenery from the bundle it came in and glue the pieces (leaves, berries, pinecones) on individually, but it still only took about ten minutes.
Tips and Tricks
- Intermittently hot glue pieces of the ribbon to the wreath to make sure it is secure.
- Feed the roll of ribbon through the center of the ring to make rapping easier.
Cost Breakdown
- Styrofoam wreath = $6.00
- Ribbon = $3.00
- Greenery = $4.00 (This stuff can get expensive. Make sure you’re looking for sales and using coupons to save money!)
- Hot glue gun & glue = $0. I already owned these materials, but you can get them in the dollar section of Michael’s for super cheap (about $4.00). A hot glue gun is a MUST HAVE in my house for crafts, as well as household hacks.
- Total = $13.00 (Or $17.00 if you need to buy all the materials.)
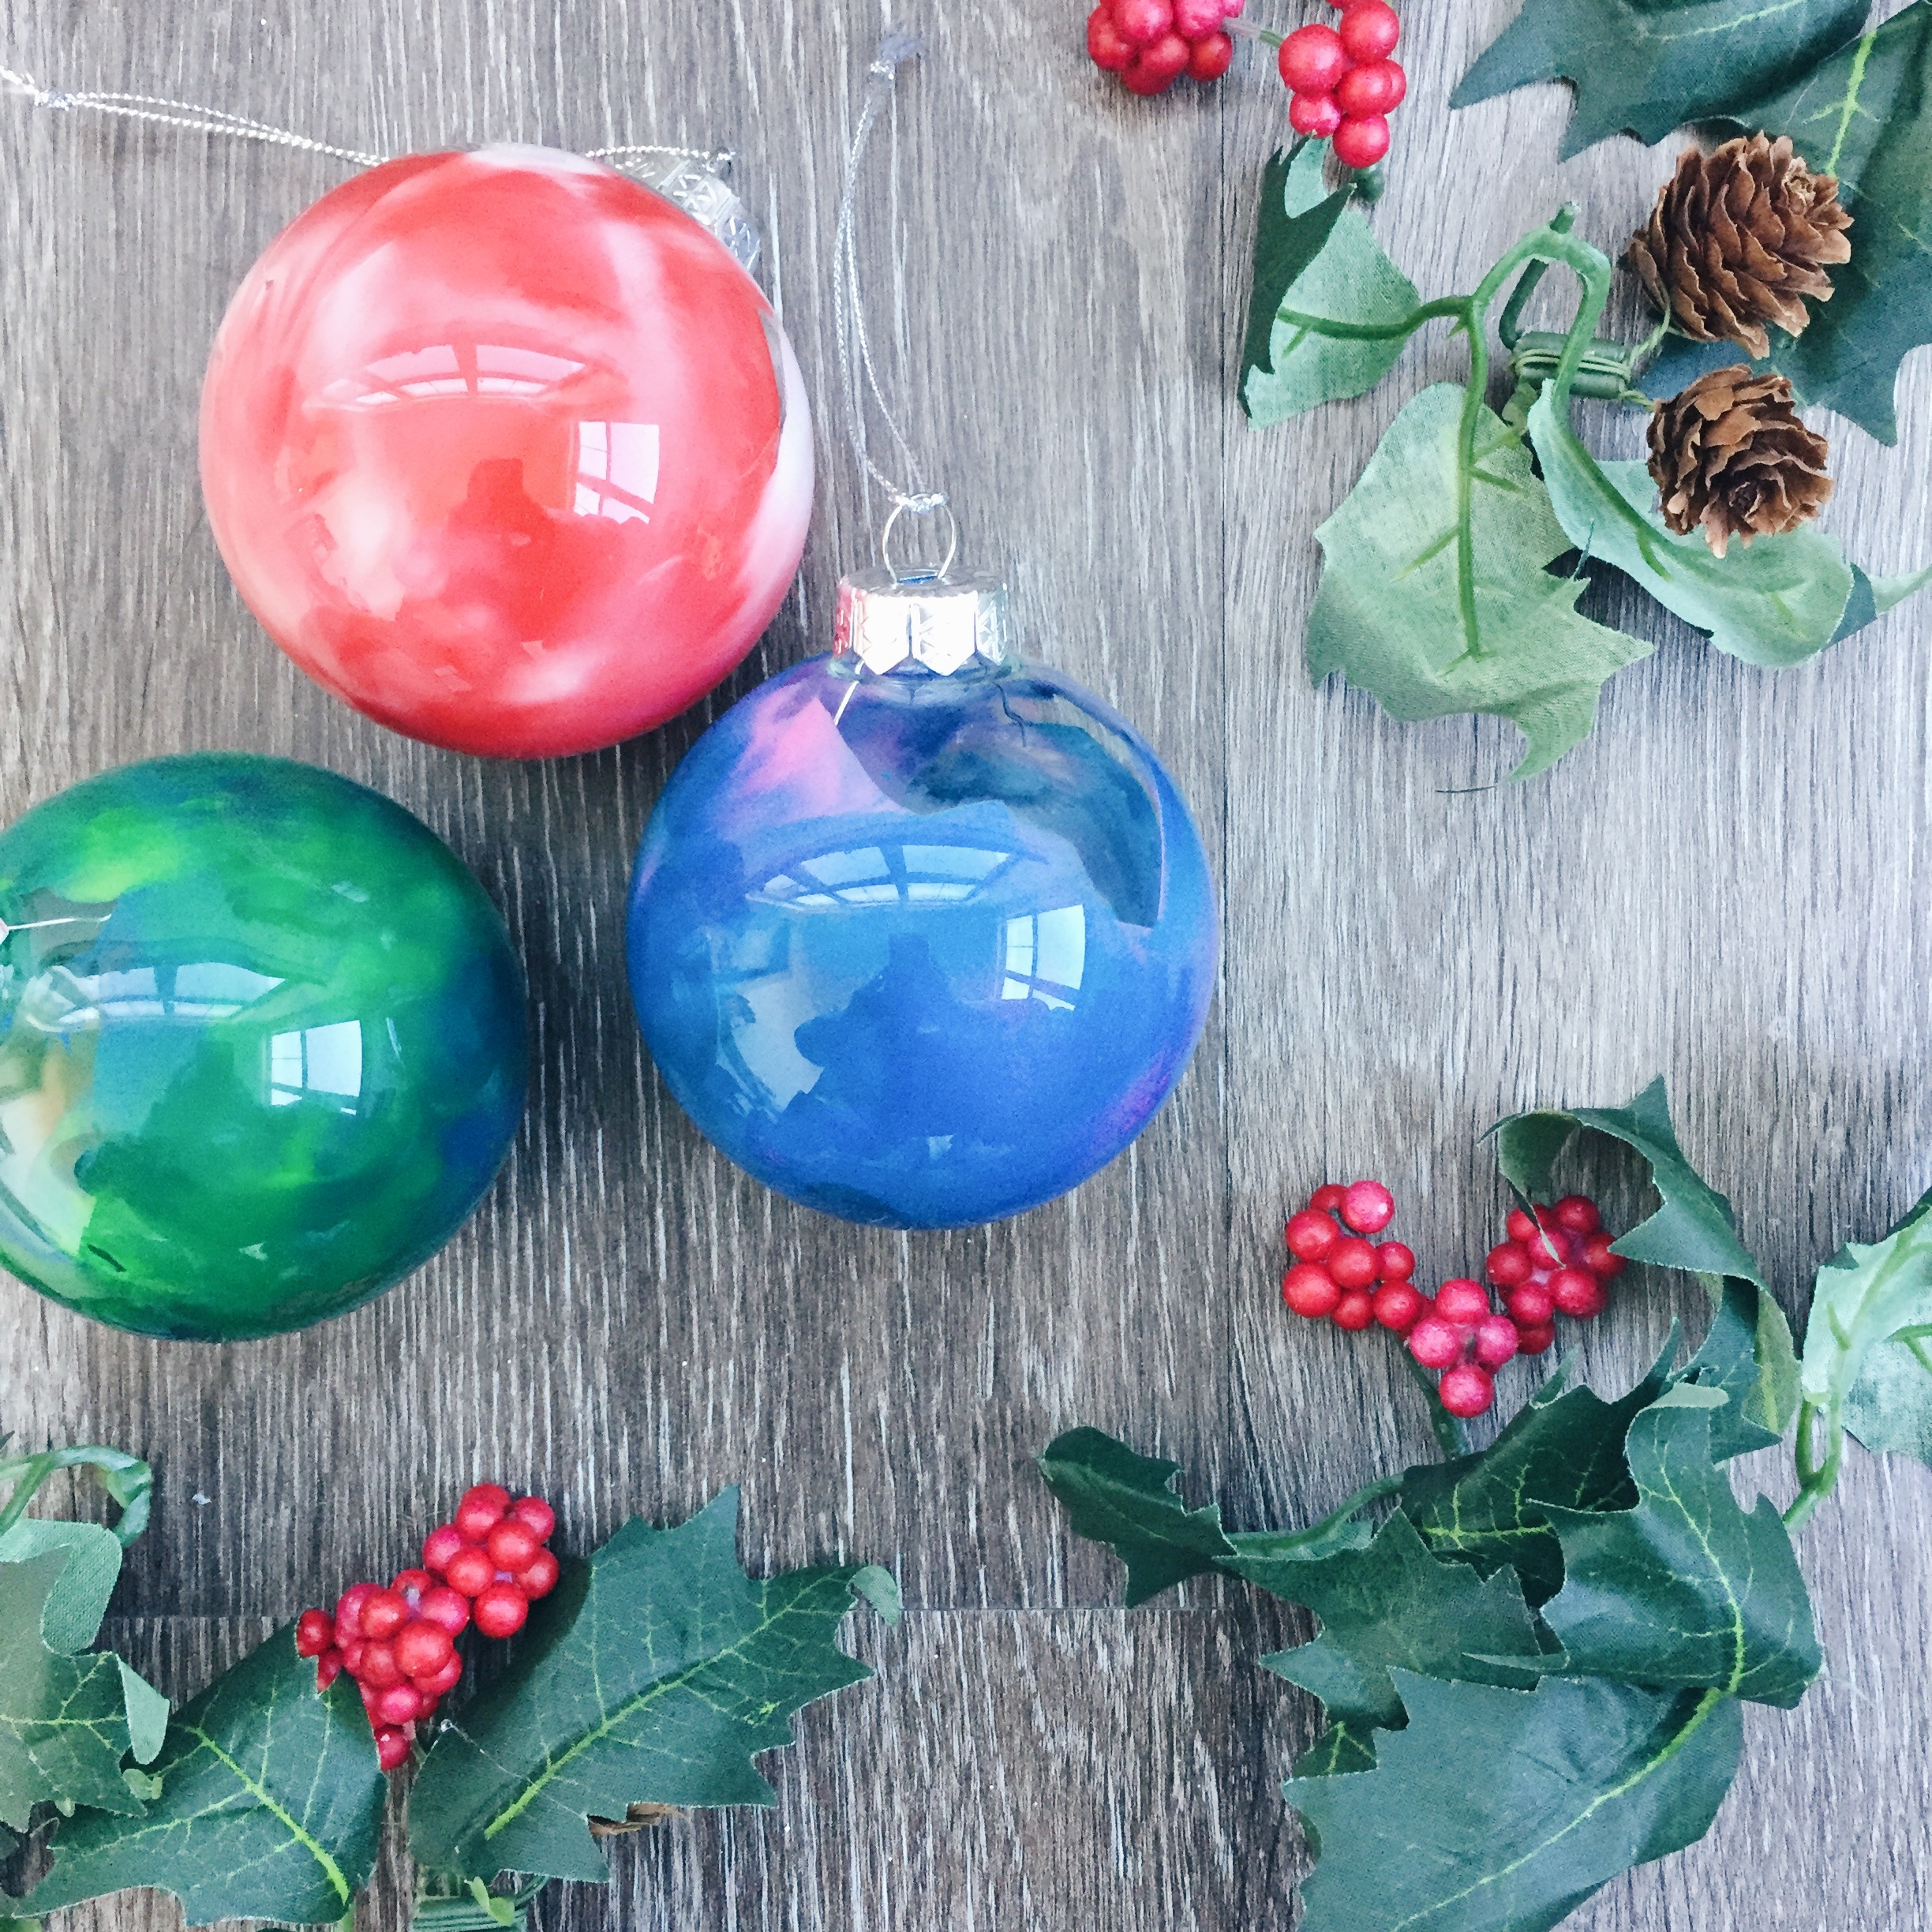
Crayon Ornaments

Materials
Plain glass ornaments
Crayons
Heat tool (hair dryer or embossing tool)
Step 1
Choose your crayon color combos. Get as holiday-themed or creative as you’d like! Break the crayons into pieces, and put them in the glass ornaments. Secure with the ornament cap.
Step 2
Heat the ornament with your heating tool and swirl crayons around periodically until you notice them melting. Heat and swirl until content with design.
Tips and Tricks
- Only use about half (or less) of the crayon, and break it into smaller pieces to ensure that it melts faster and is easier to maneuver.
- If you are pairing a dark crayon with a lighter color, use more of the light color and less of the dark color. The darker color tends to overpower the design.
Cost Breakdown
- Glass ornaments = $5.00 for 6 ornaments
- Crayons = $0. Prices vary from $2 – $20, but I already had some in my collection. You can also swirl paint colors around in the ornament and cut out the heating tool all together!
- Heat tool = $0. I borrowed an embossing tool from my brother’s girlfriend (I’m incredibly lucky because she’s an artist, wonderfully generous, and always lets me borrow anything I need), but you can borrow a blow dryer from anyone if you don’t own one yourself.
- Total = $5.00 (Or $10.00 if you need to buy crayons.)
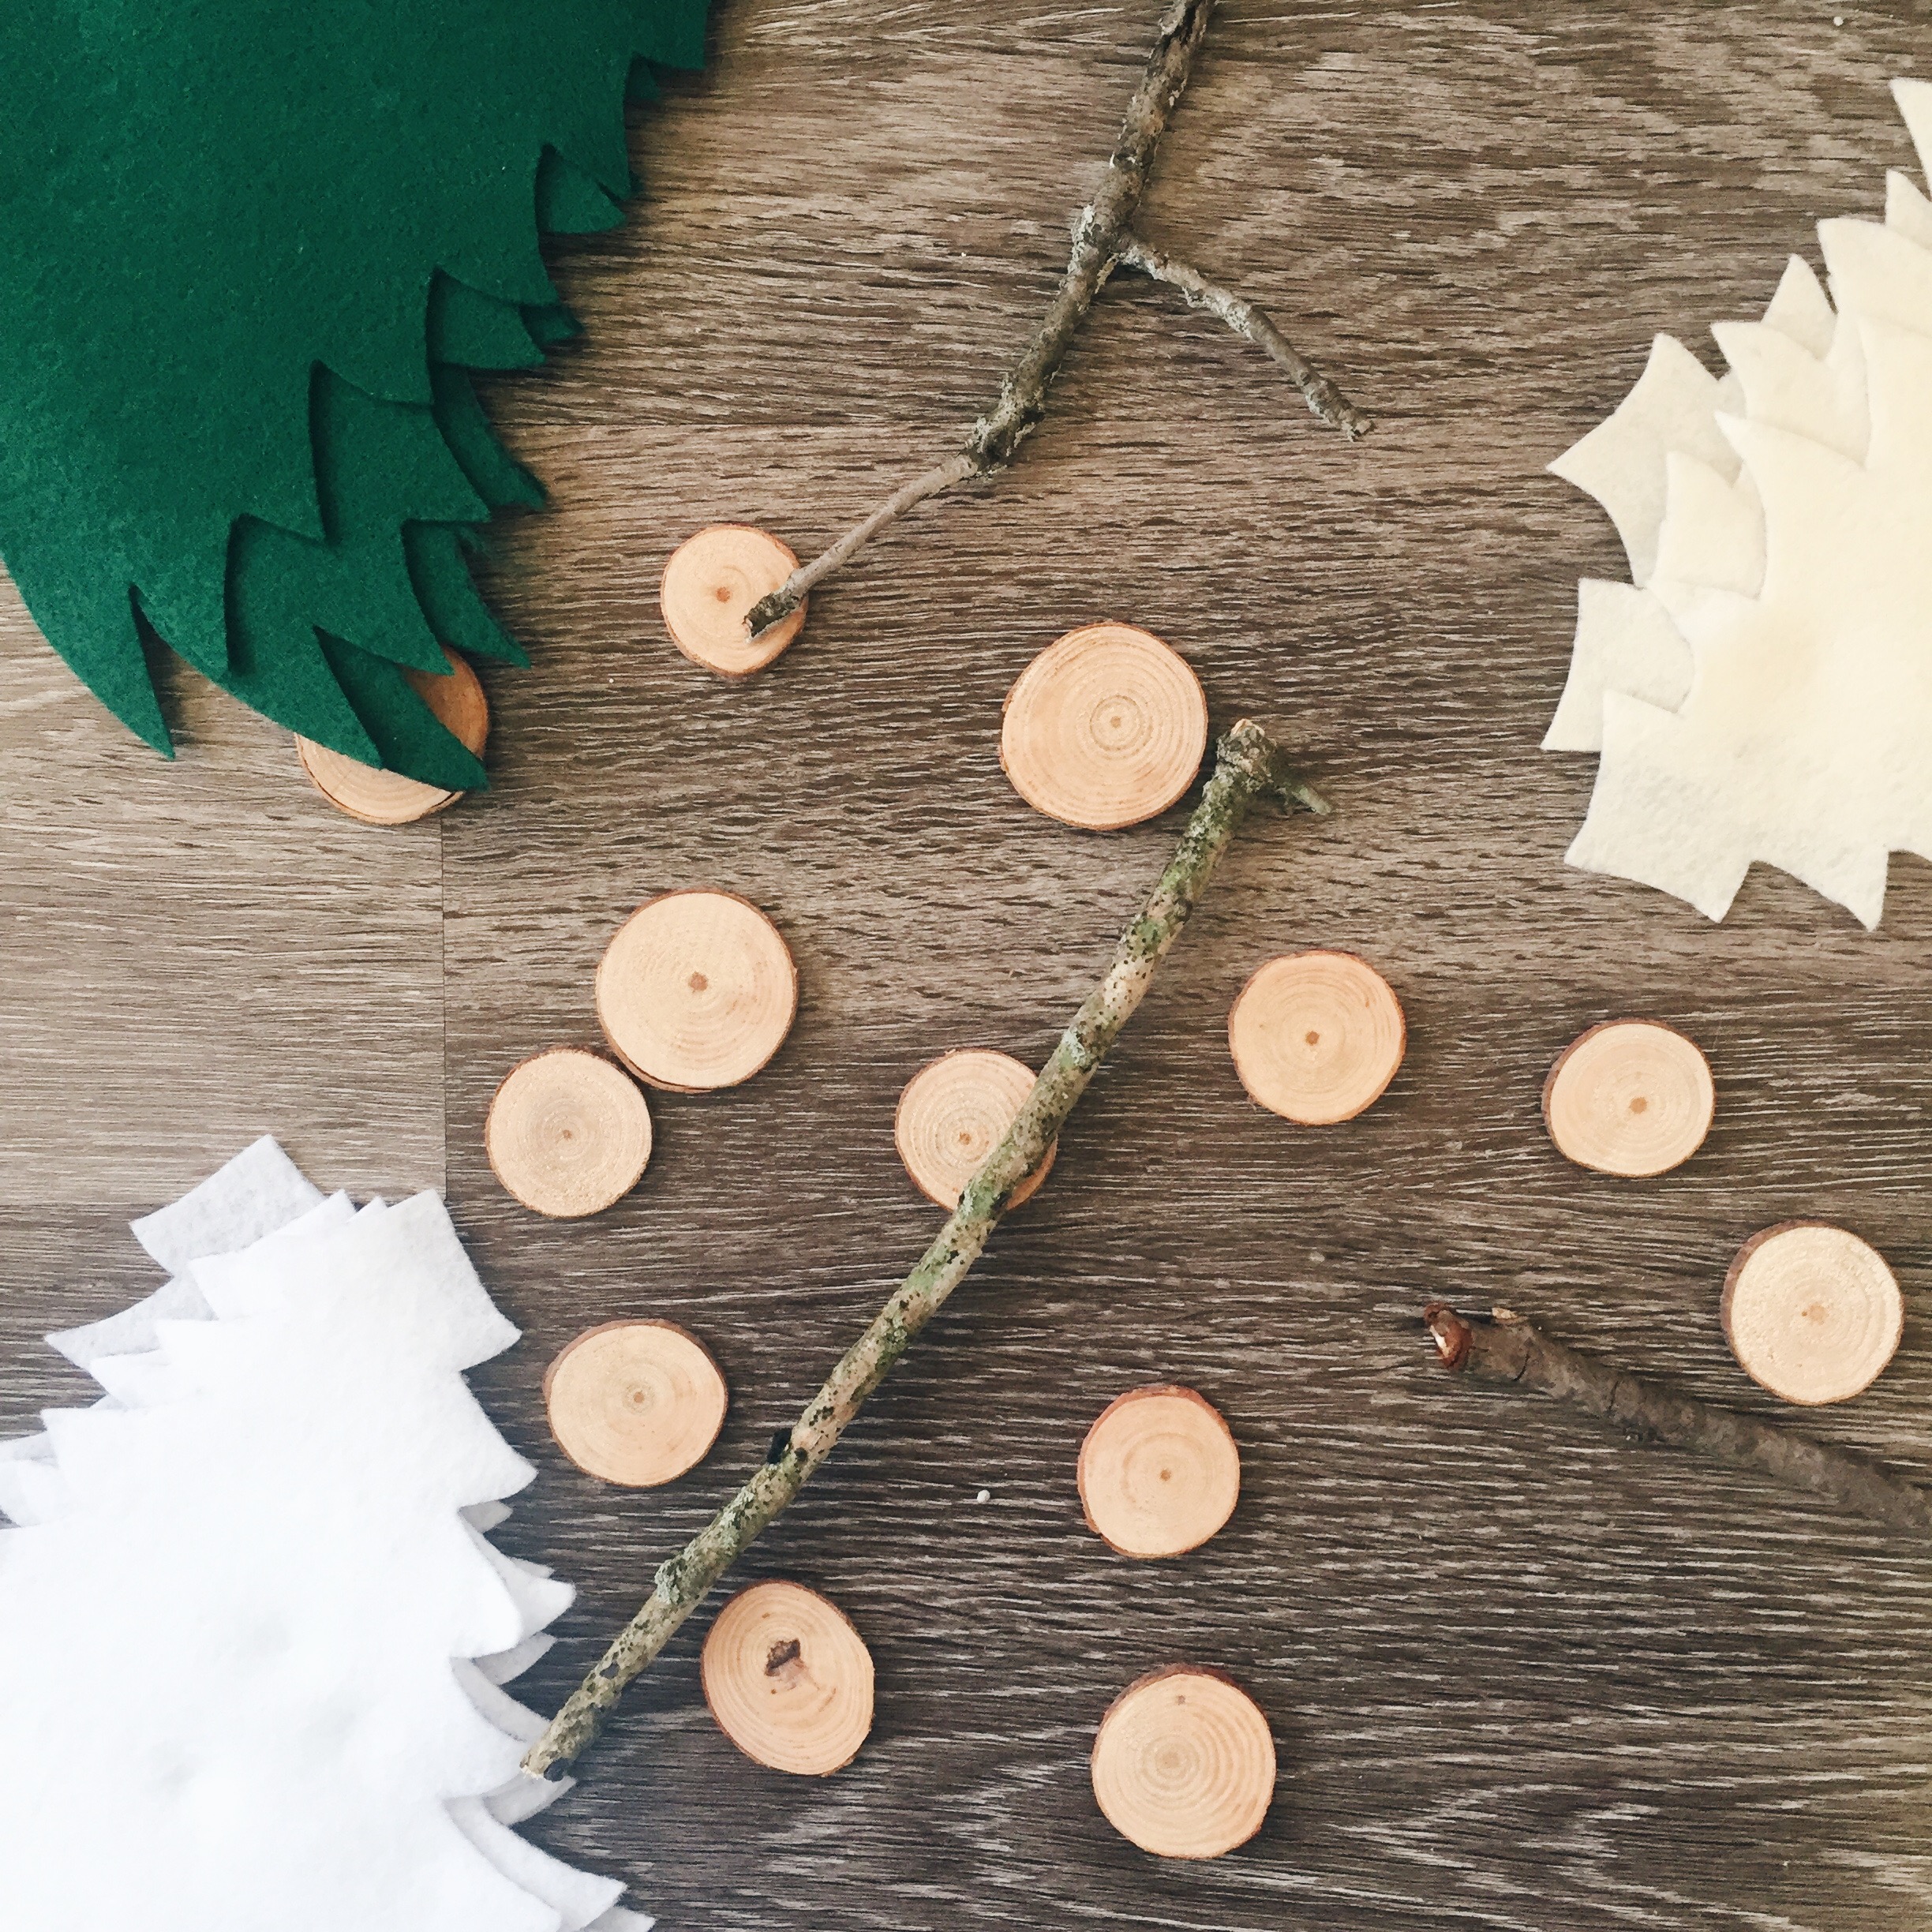
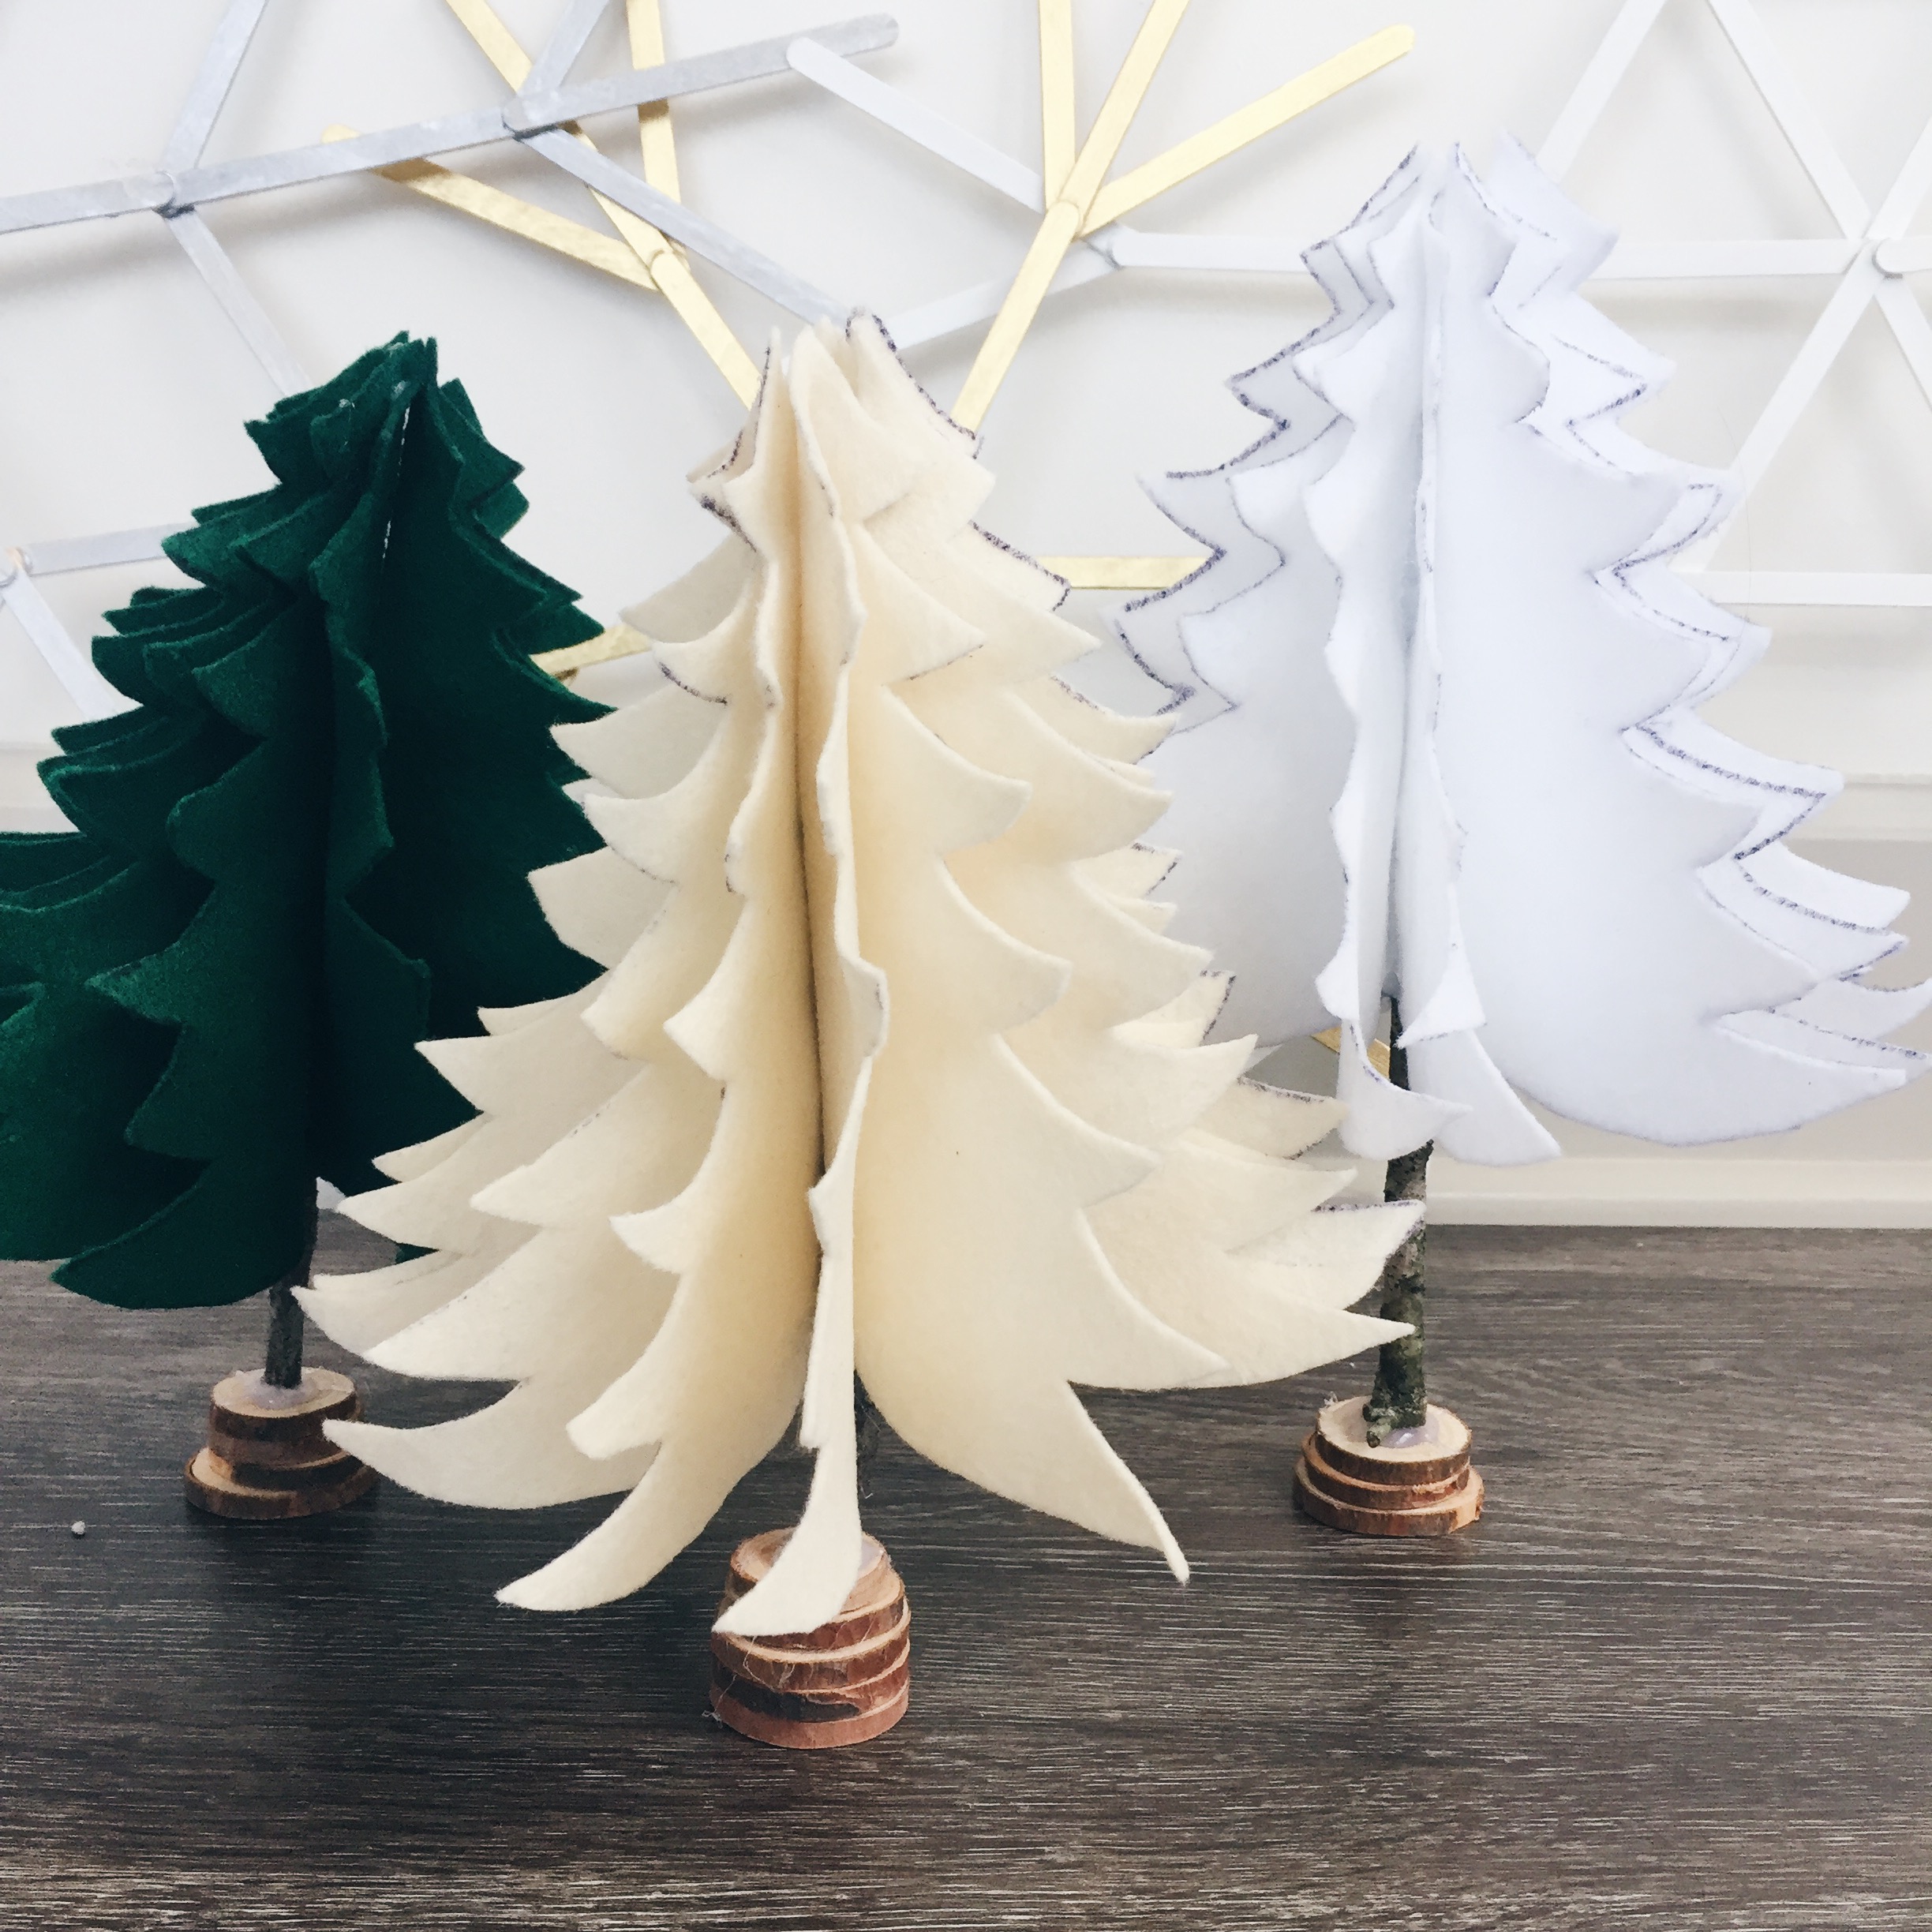
Christmas Trees
Materials
Sticks
Bases
Felt
Hot glue gun & glue sticks
Step 1
Create a template of a Christmas tree out of printer paper. Outline the template on the felt, and cut it out.
Step 2
Fold the cut out Christmas trees in half and hot glue the fold. It will look like you have half a tree. Then, hot glue the pieces of felt to the sticks.
Step 3
Hot glue the bases together. I stacked a couple of wooden disks together and then hot glued the sticks with the trees on top.
Tips and Tricks
- Buy a 1 1/2 yards of felt in any colors you choose. I bought sheets (three for each color) of felt (like buying sheets of paper), and I think it was a bit harder because I was trying to maximize space.
- Fold the felt in half to cut out the trees. This ensures evenness and saves you time.
- Get felt scissors if you can. The hardest part of this craft was actually cutting out the felt.
Cost Breakdown
- Sticks = Free! I found them in my yard.
- Bases = $8.00. I found these on Amazon, but you can also find thicker sticks in your yard or logs. This was just easier for me, and I knew I could use them again.
- Felt = $6.00, $0.50 each
- Hot glue gun & glue = $0.
- Total = $14.00 (Or $18.00 if you need to buy a hot glue gun.)
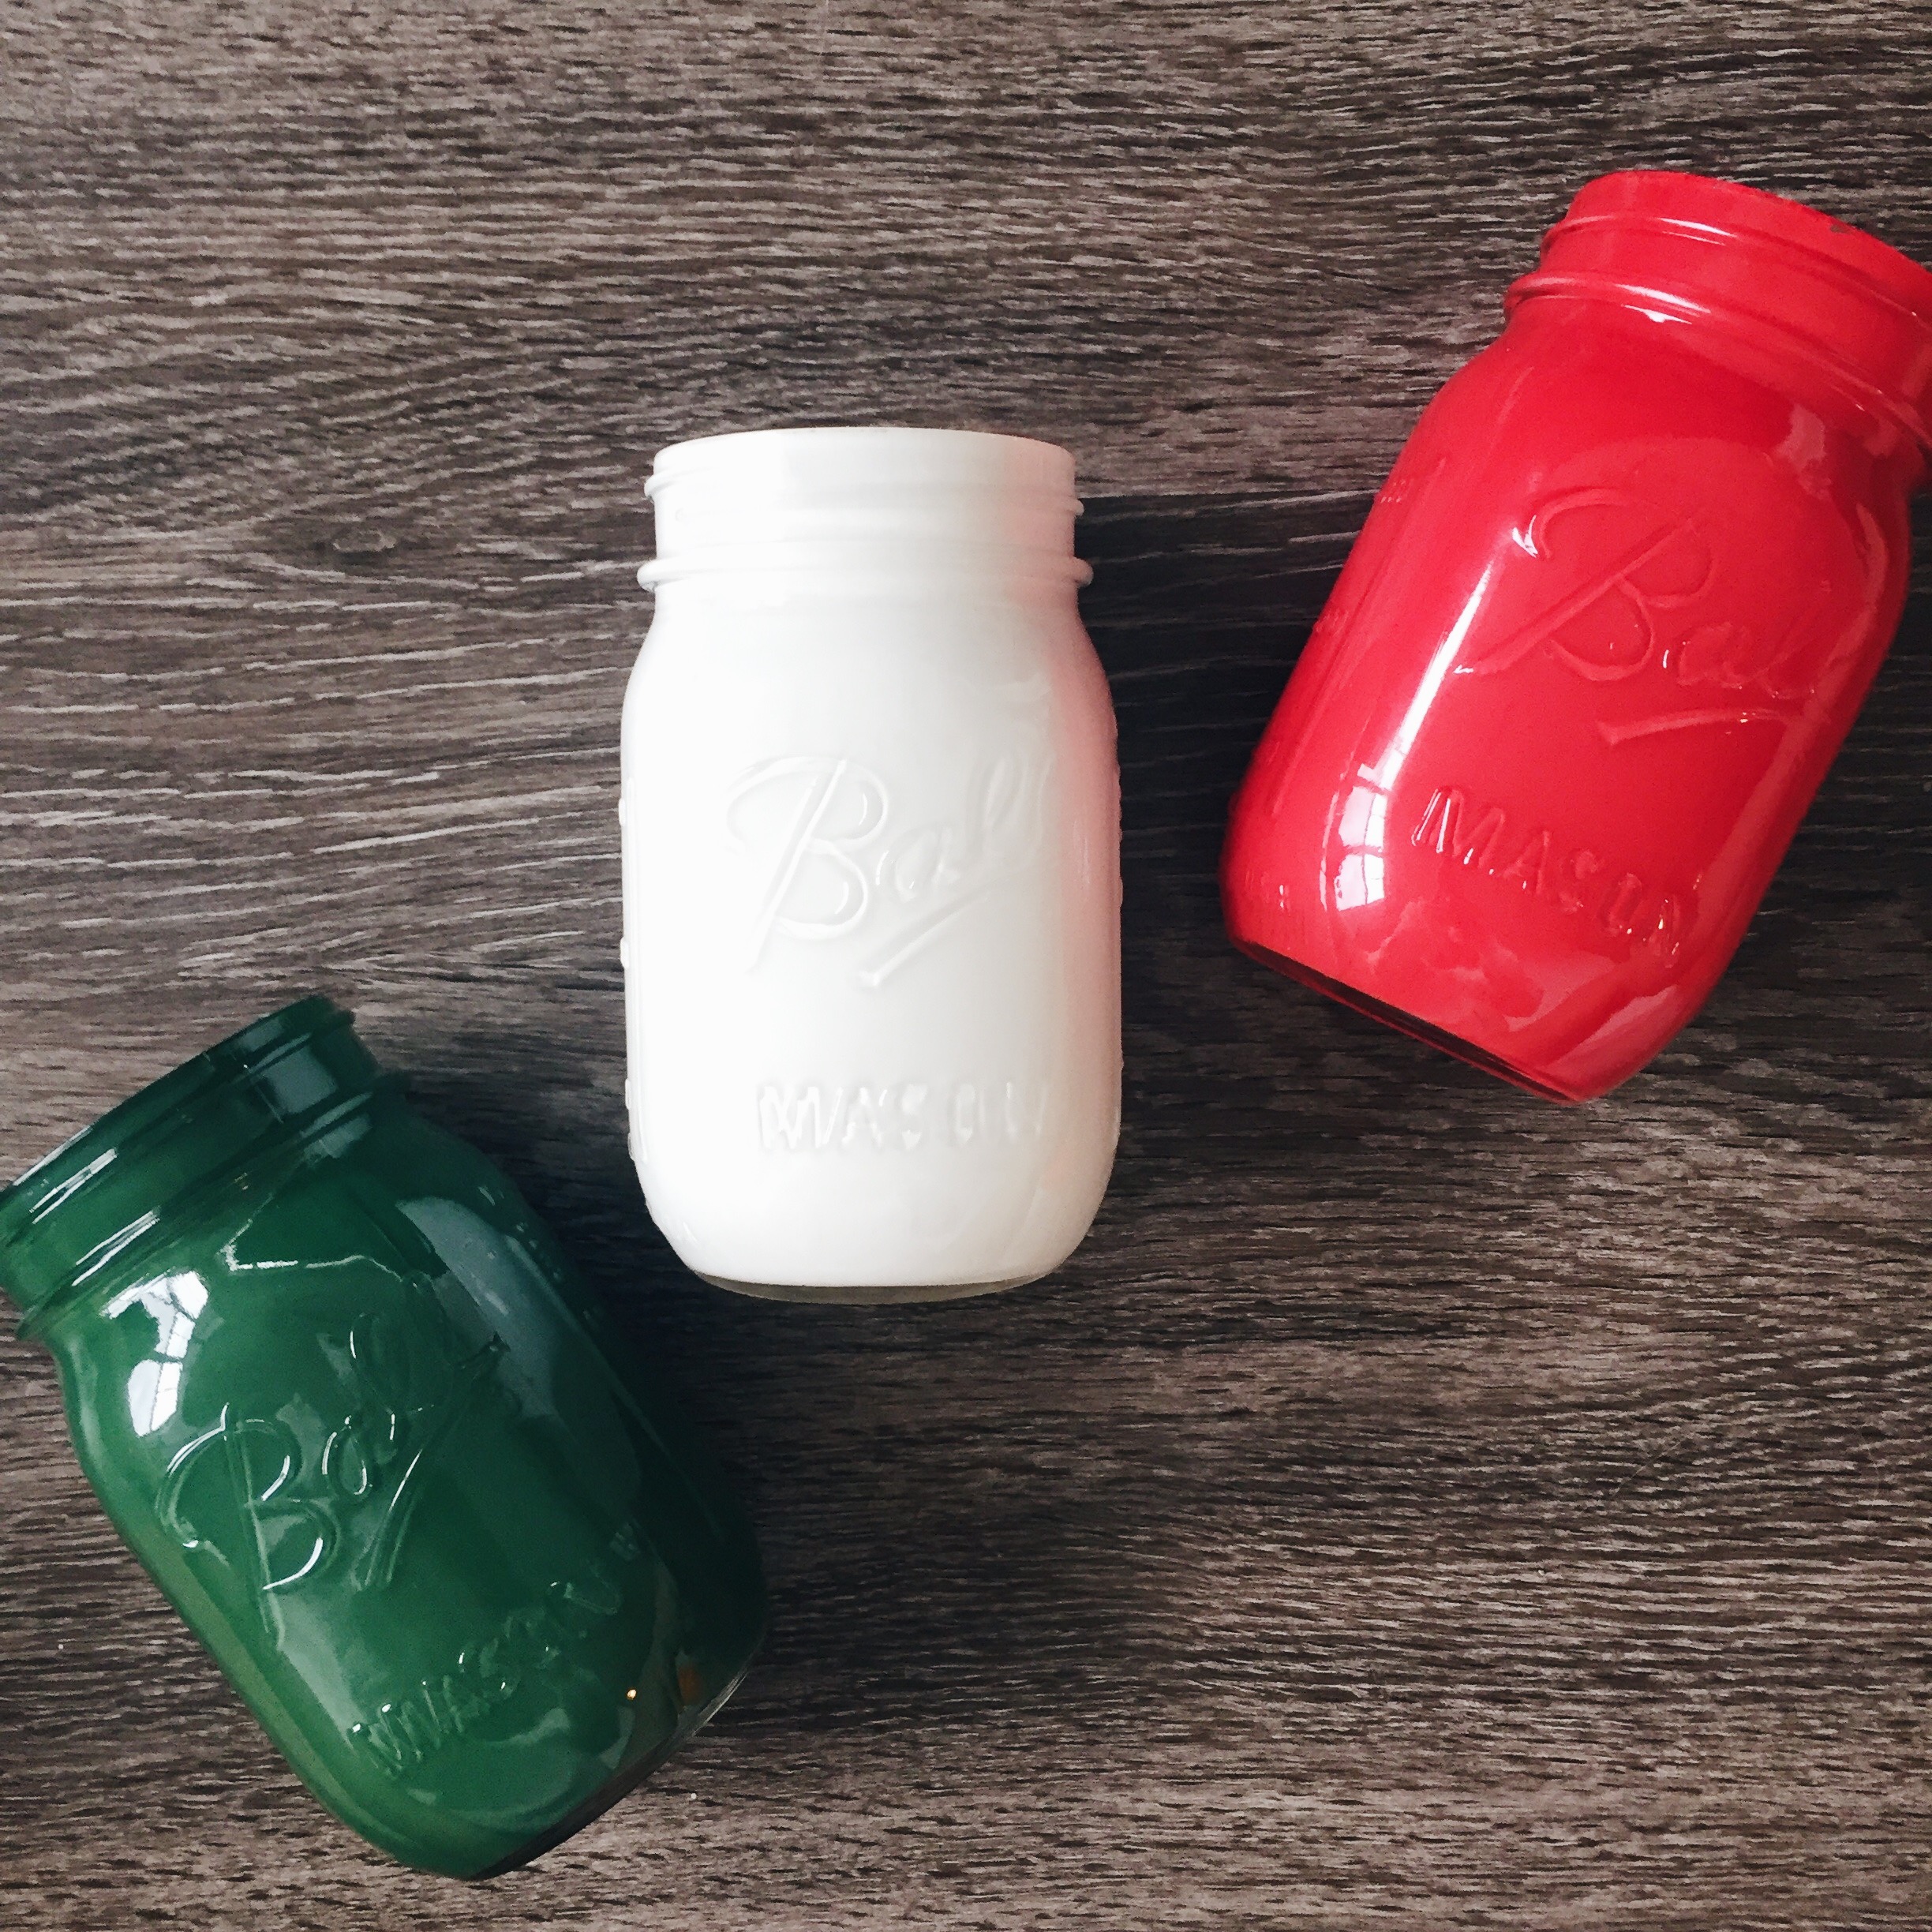
Joy Jars
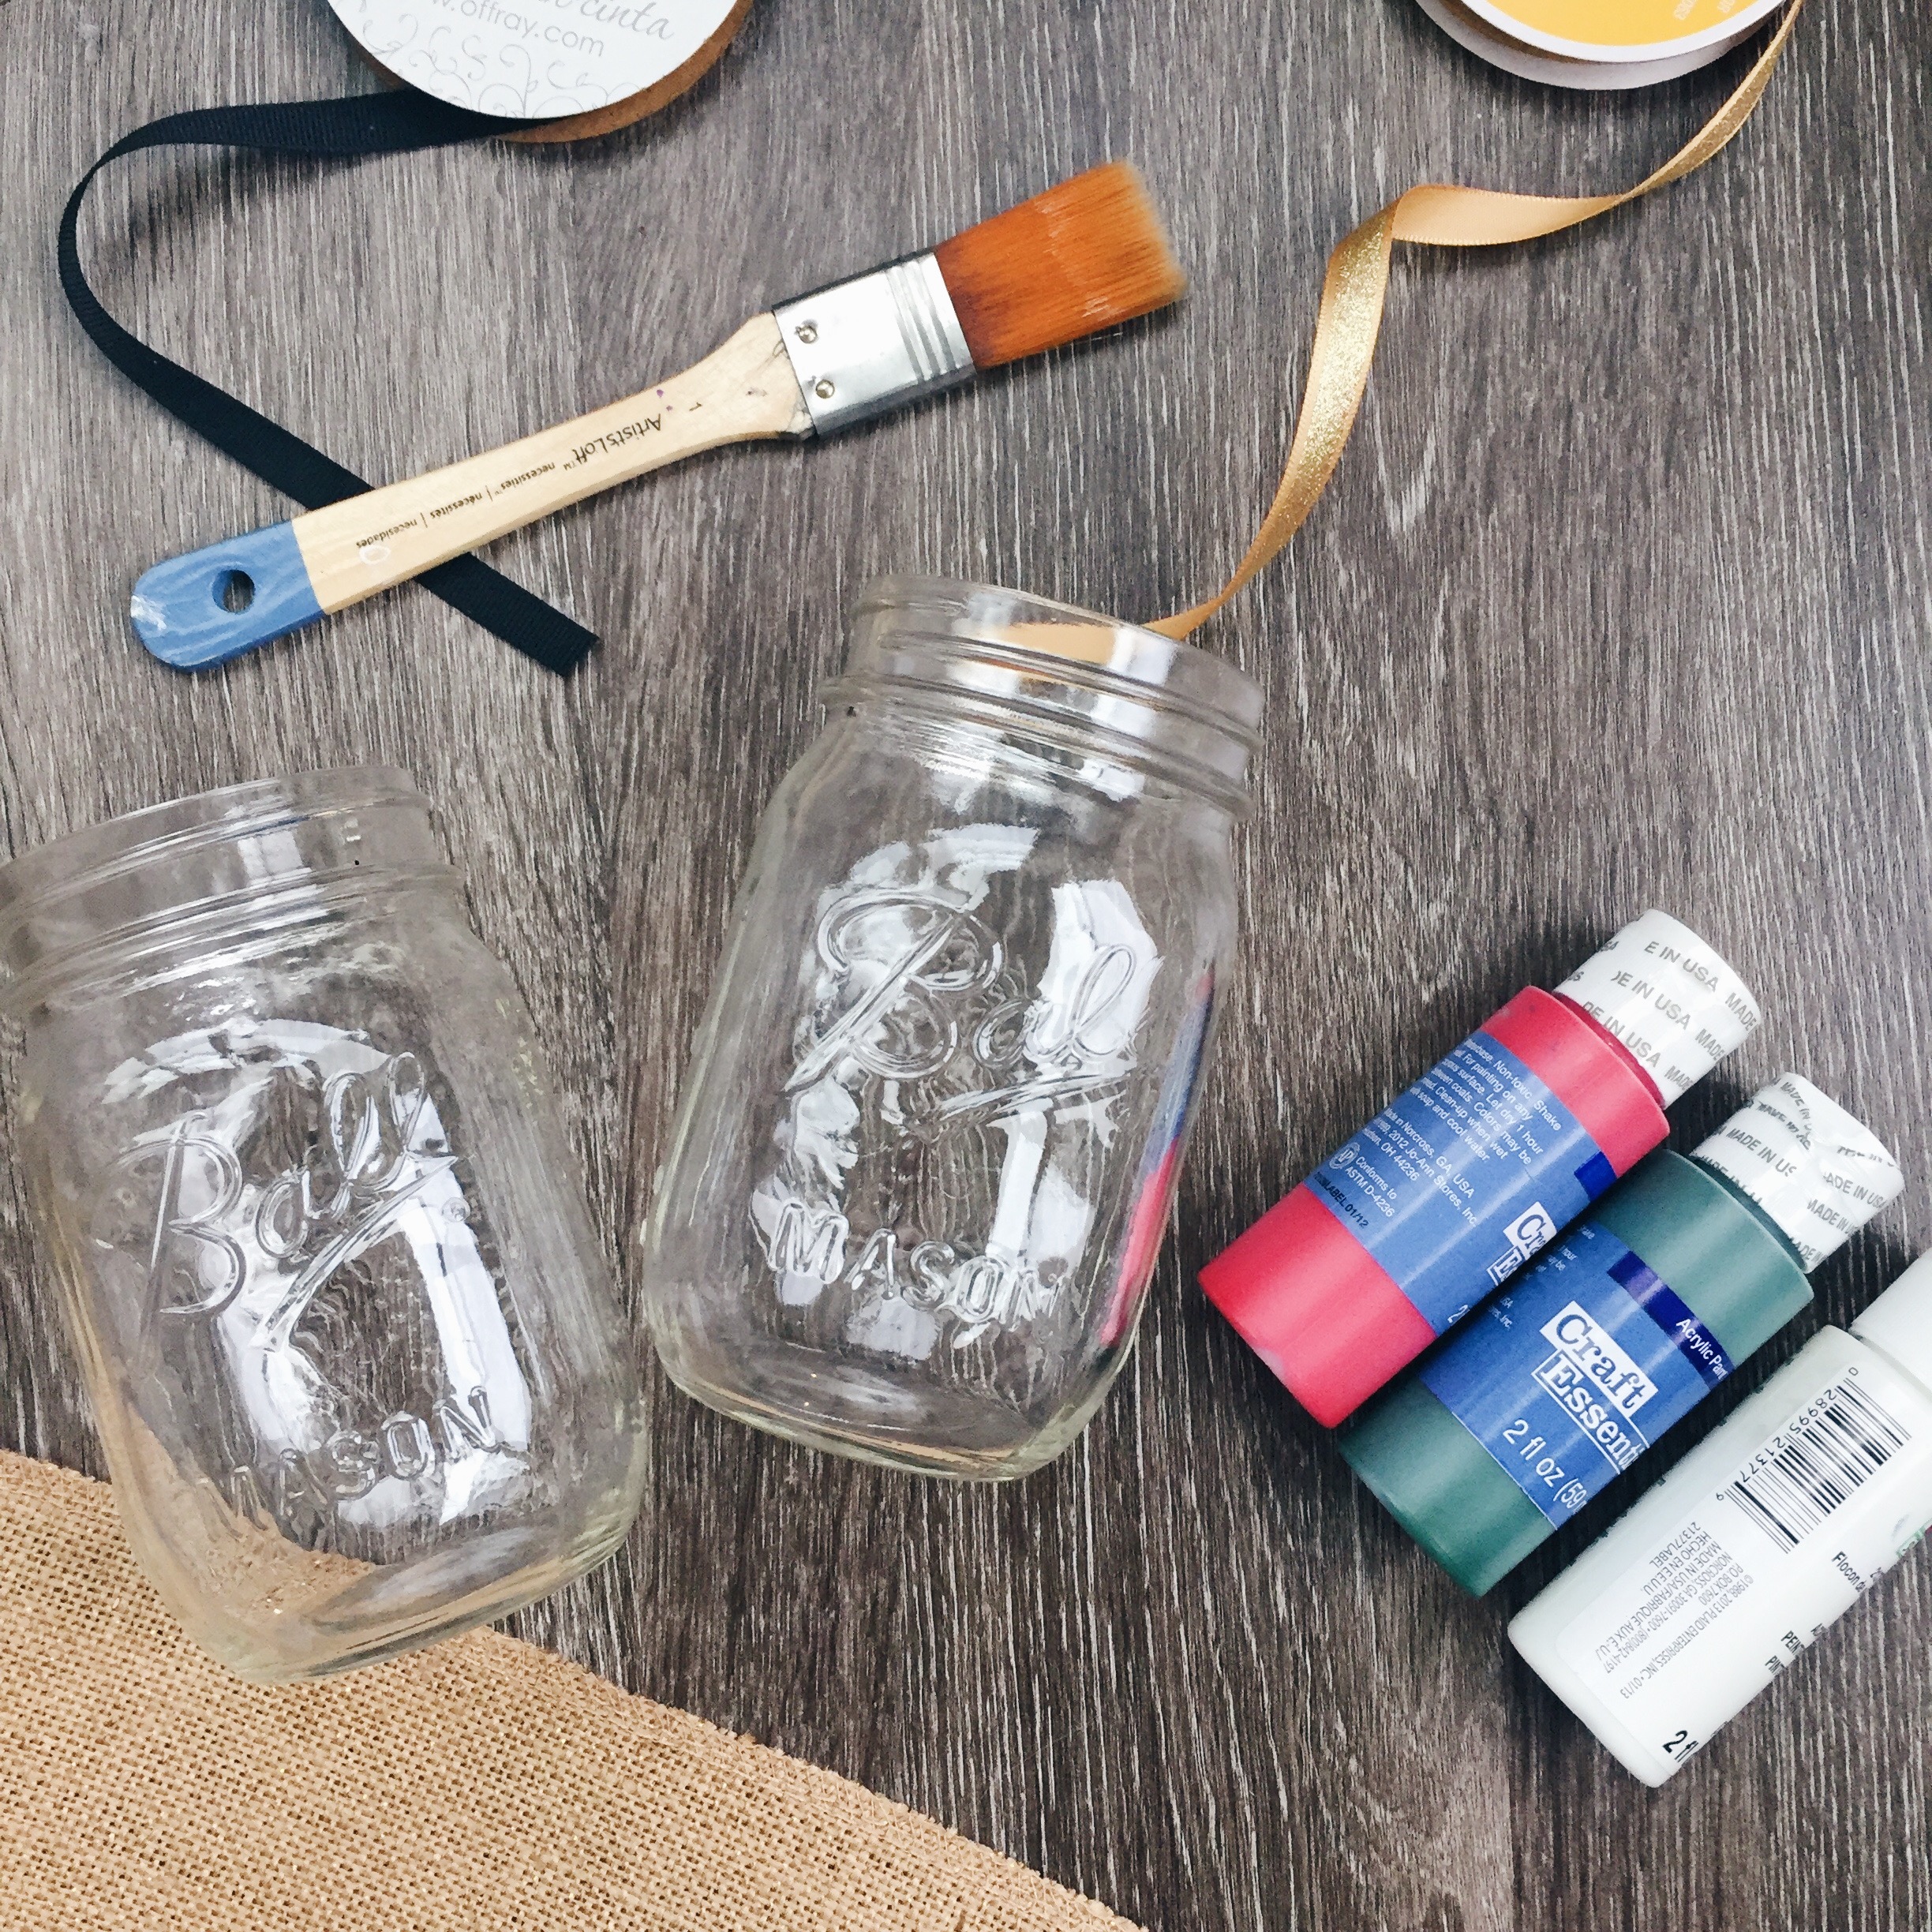
Materials
Mason jars (3)
Burlap
Ribbon
Paint (black, green, red, and white)
Hot glue gun & glue
Step 1
Paint the inside of the mason jars. One green. One white. One red. Let dry.
Step 2
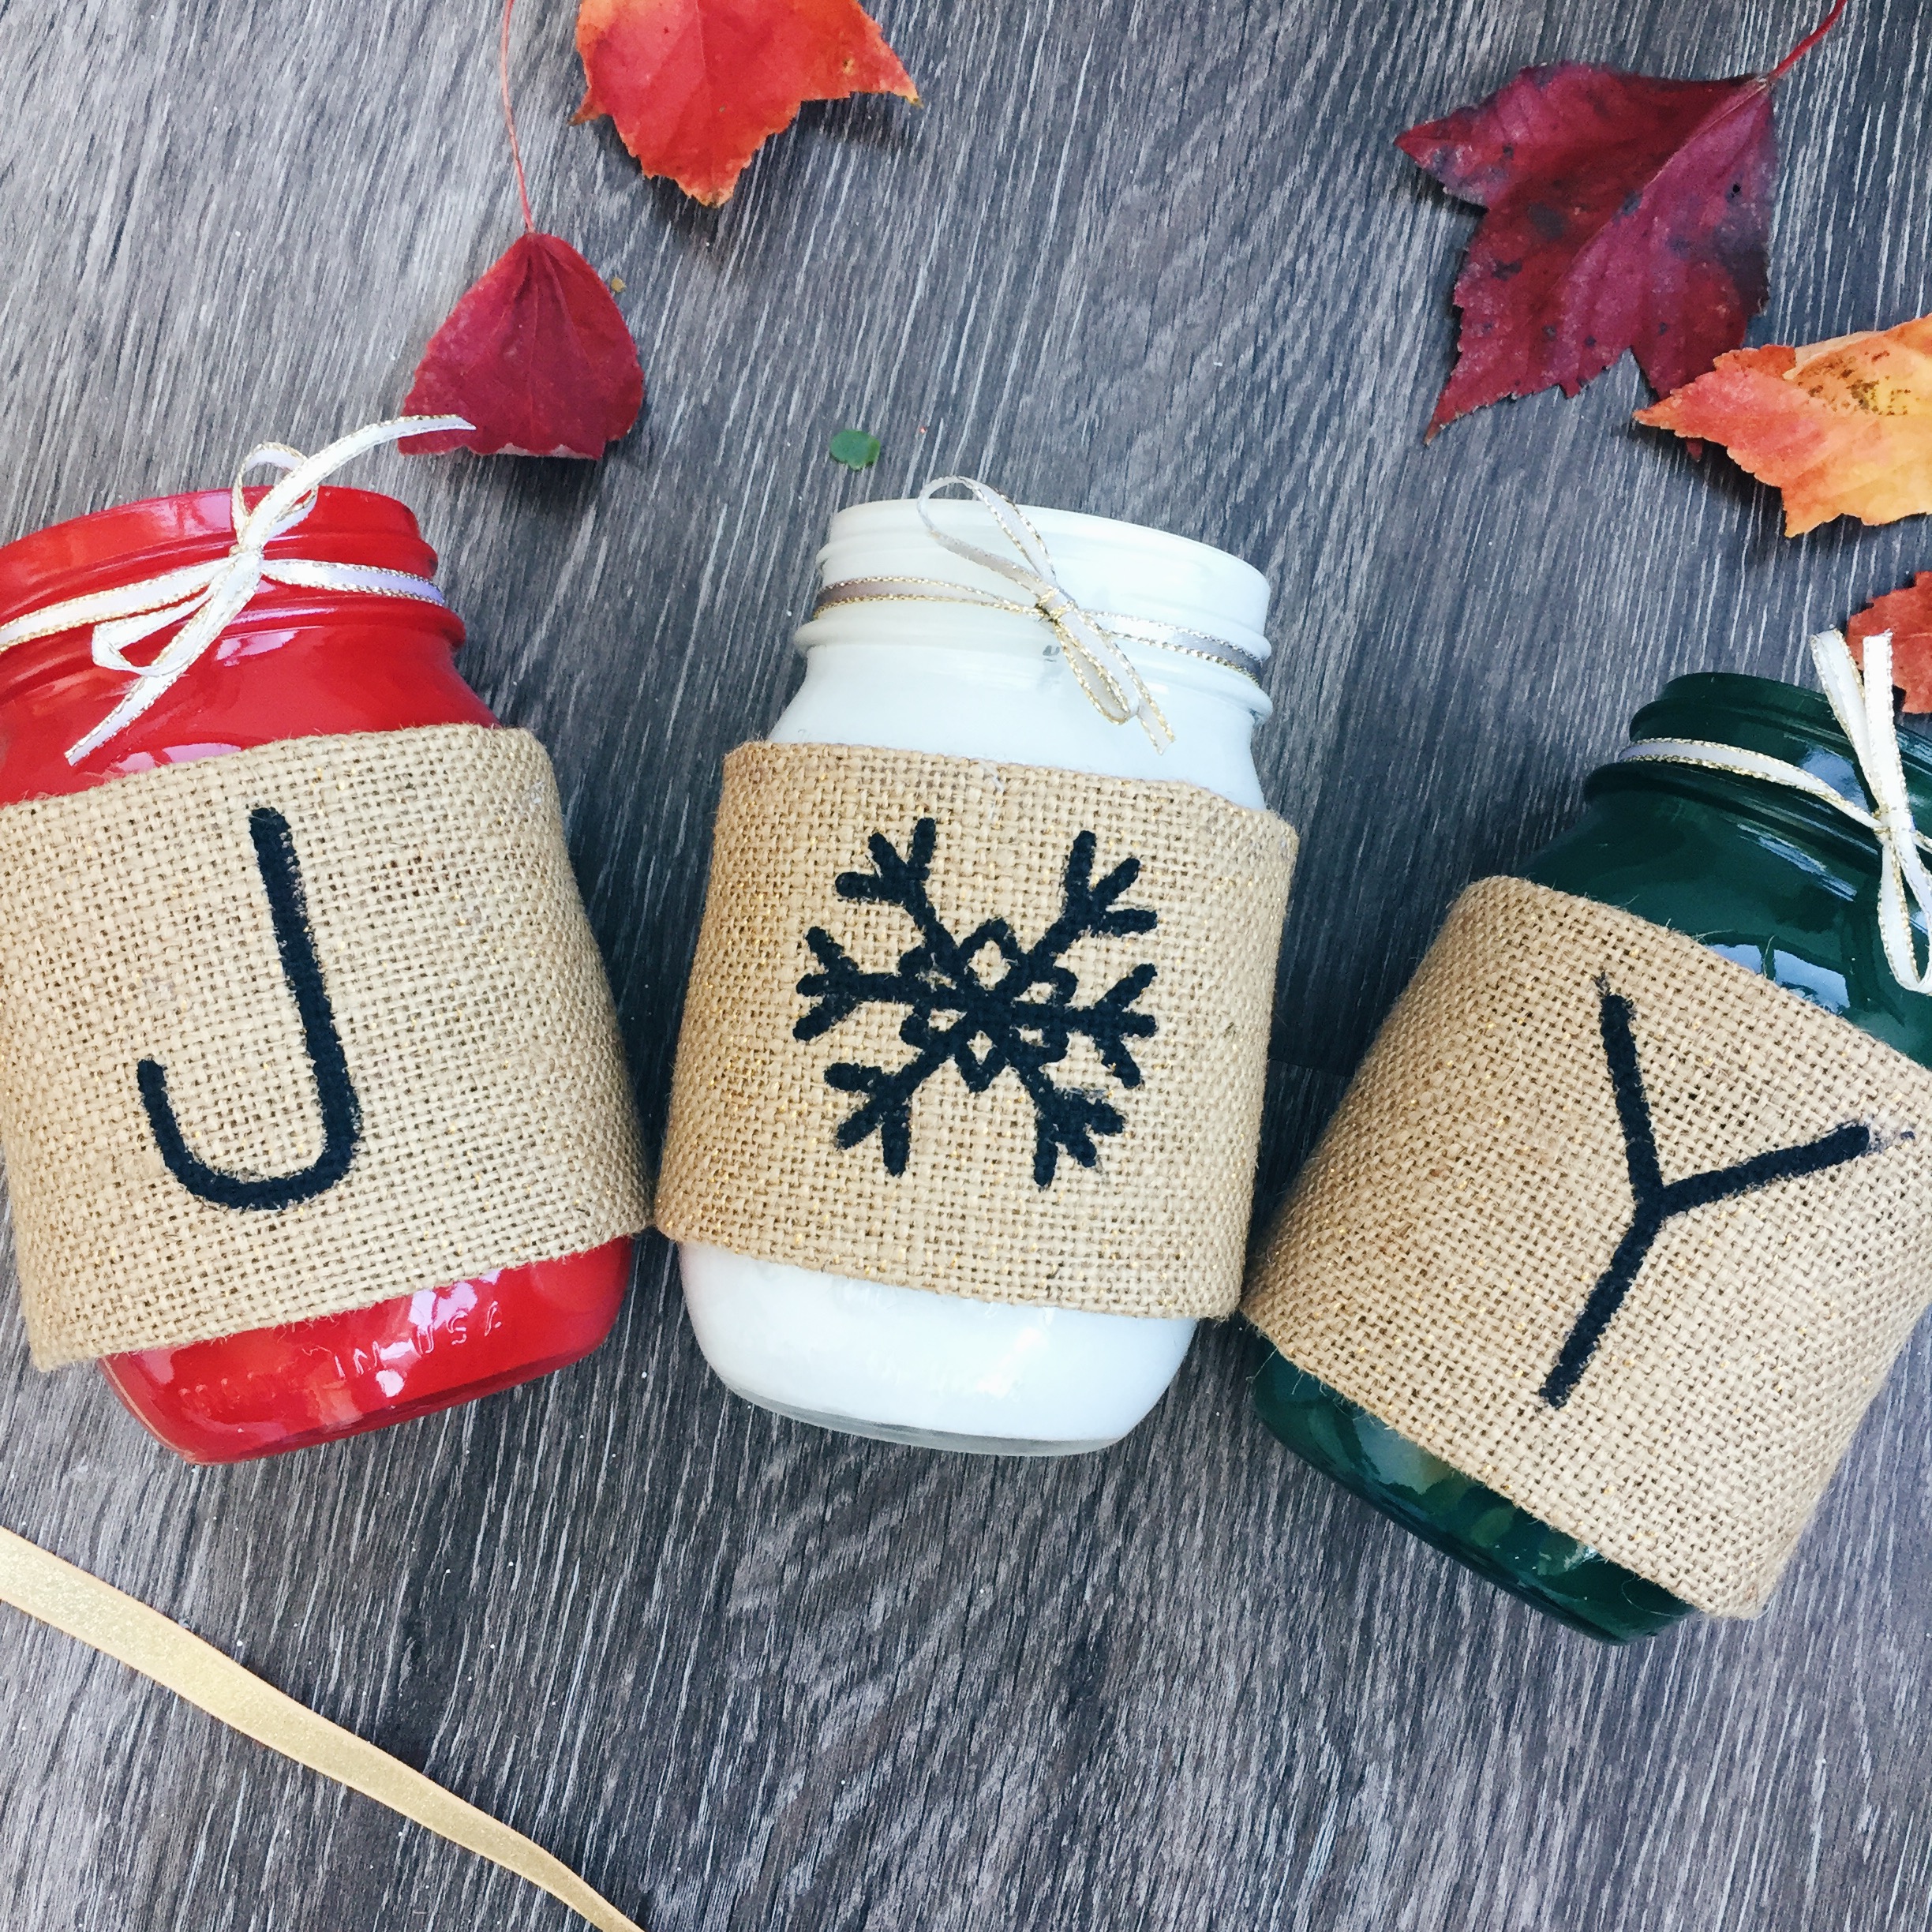
Cut your burlap to fit around the Mason jars. I had a thick ribbon of burlap, so I hot glued the top and bottom down to make it fit the jars better. Wrap it around the jar, and hot glue in place.
Step 3
Paint “J”, “O”, and “Y” onto the jars. I made my “O” into a snowflake, but feel free to get creative, or use a word of your choice that you feel encapsulates the holiday season for you.
Step 4
Tie ribbon around the top. Fill with embellishments, if so desired. Decorate in any fashion you wish.
Tips and Tricks
- Use two coats of paint for the inside of the mason jars to make the color more opaque.
- Outline the lettering in sharpie before painting it since burlap is a bit tougher to paint on than regular canvas since it has a rougher texture.
Cost Breakdown
- Mason jars = $8.00 for a pack of 12
- Burlap = $0. I already had some in my collection, but you can get a spool of burlap ribbon from any craft store for around $4.
- Ribbon = $1.50
- Paint =$1.50, $0.50 per paint color
- Hot glue gun & glue sticks = $0.
- Total cost = $11 (Or $15 if you need to buy burlap.)
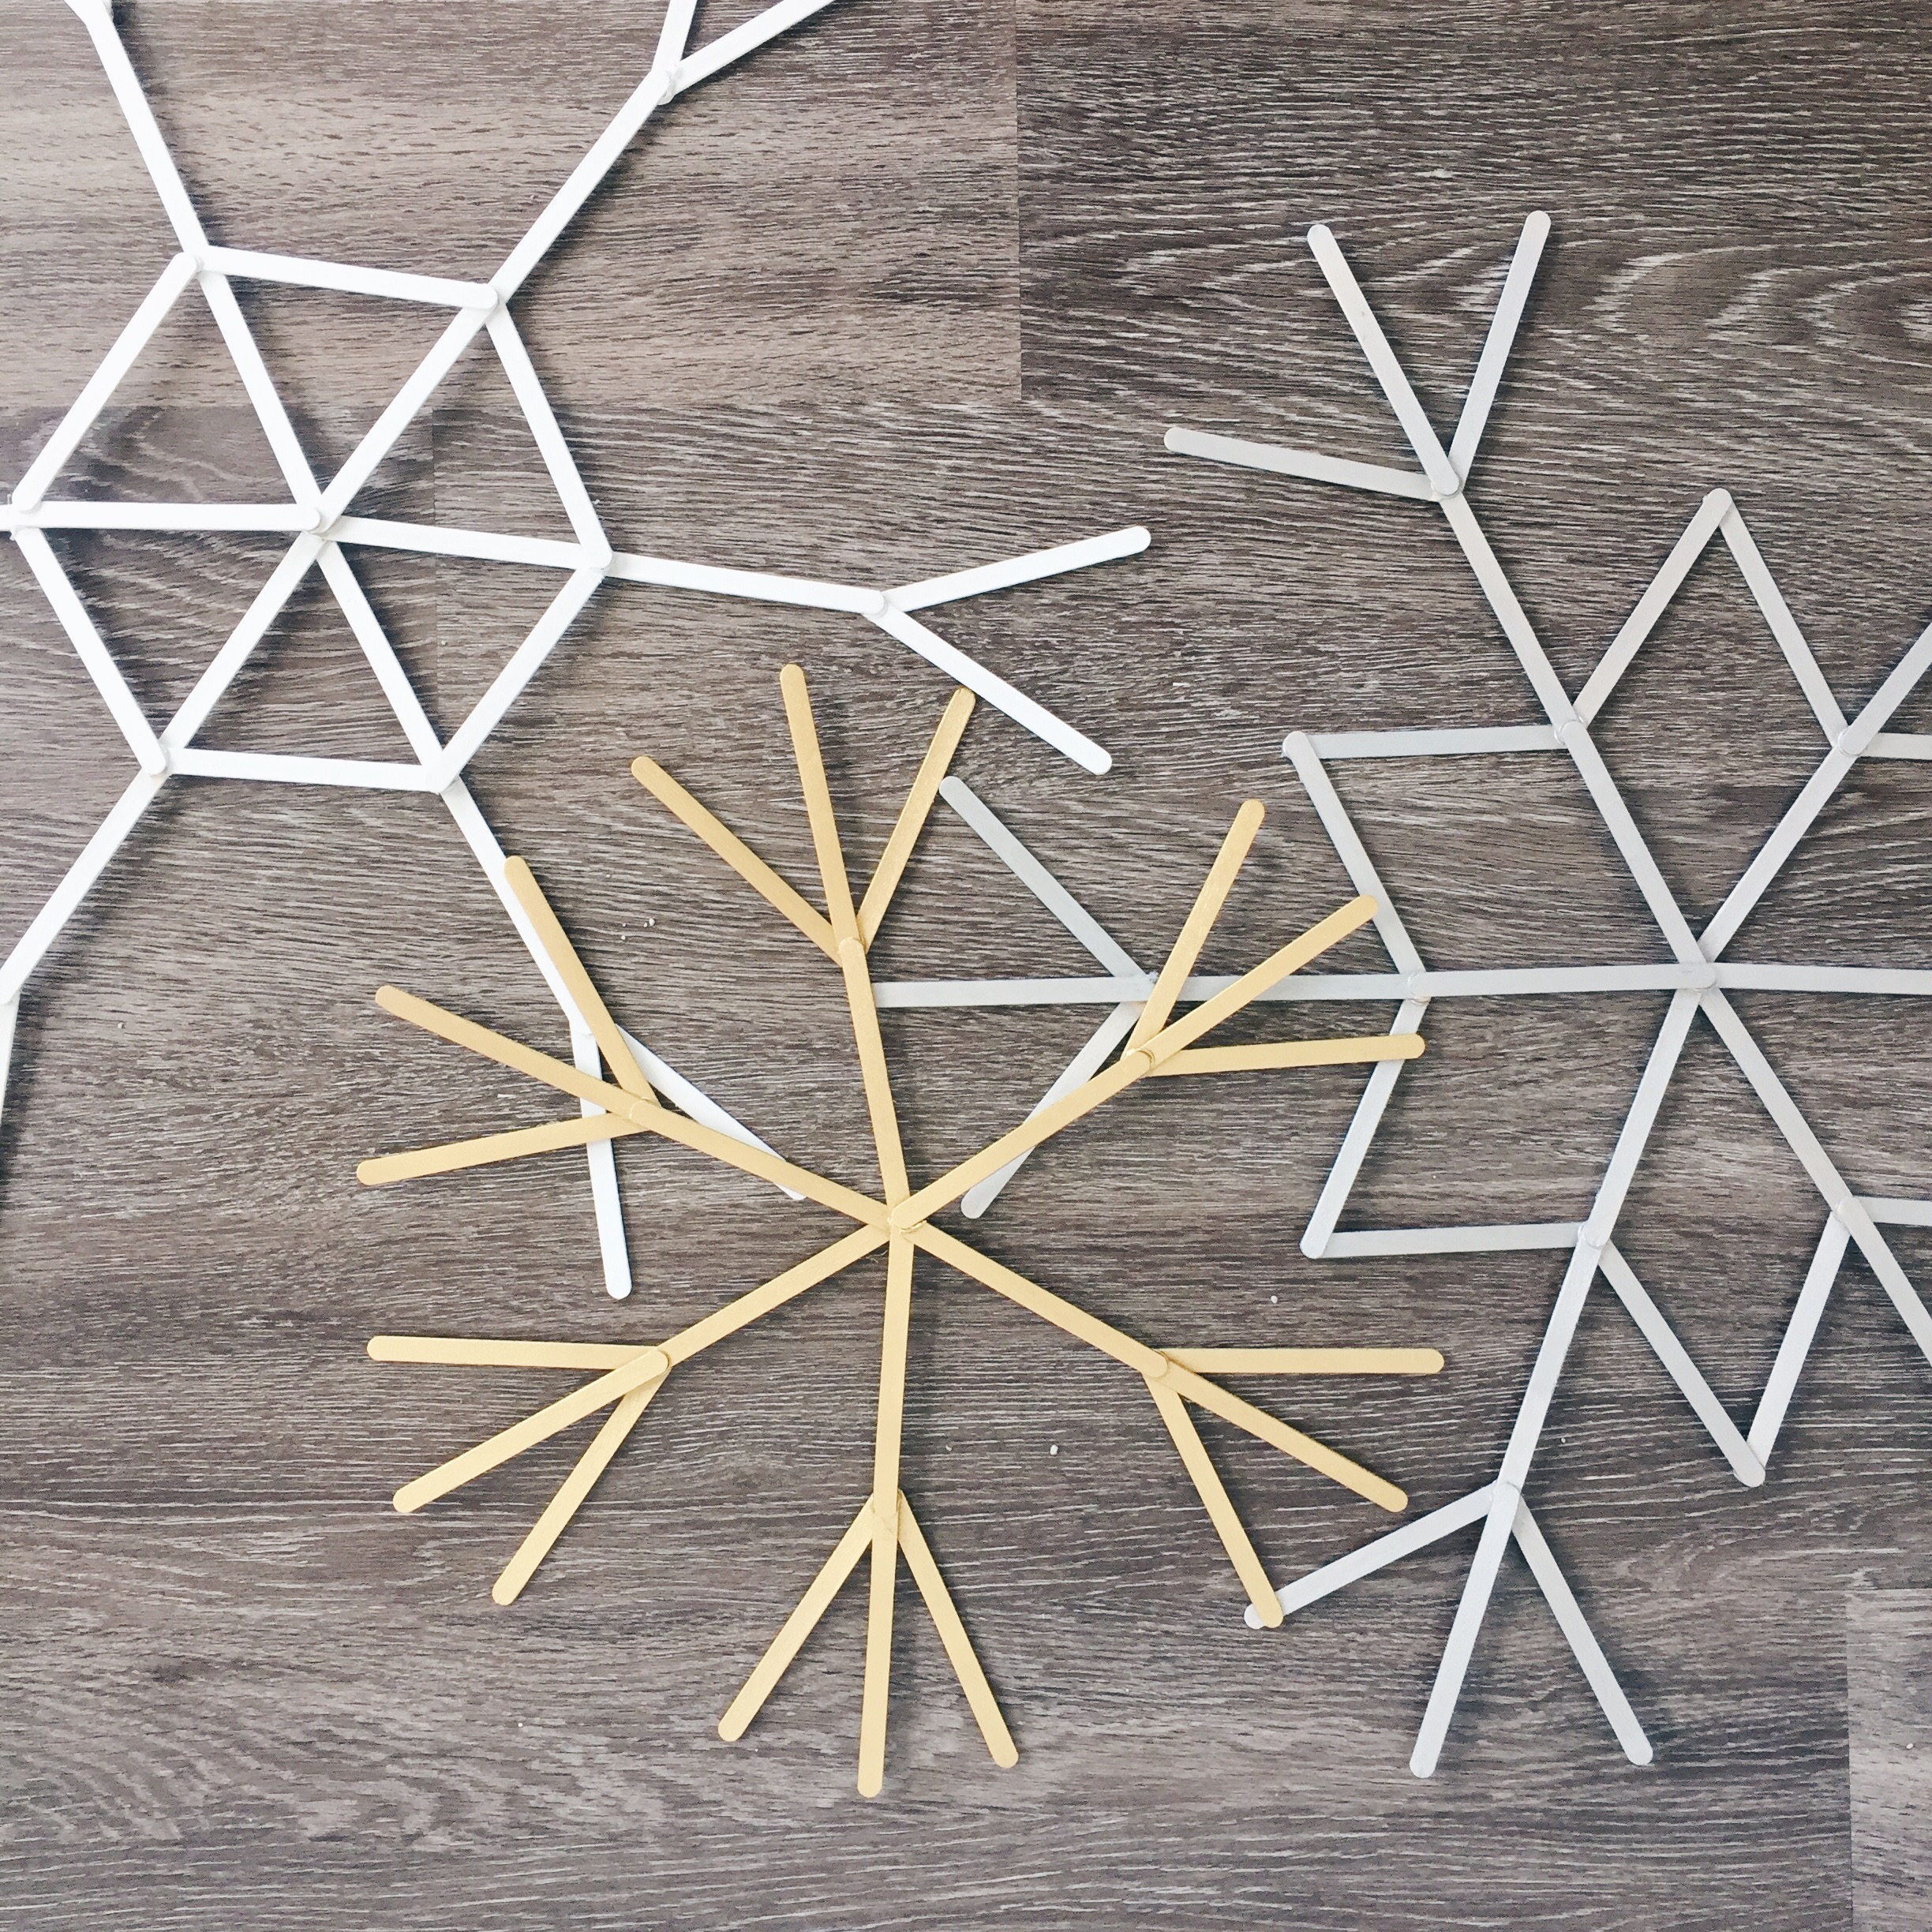
Giant Snowflakes
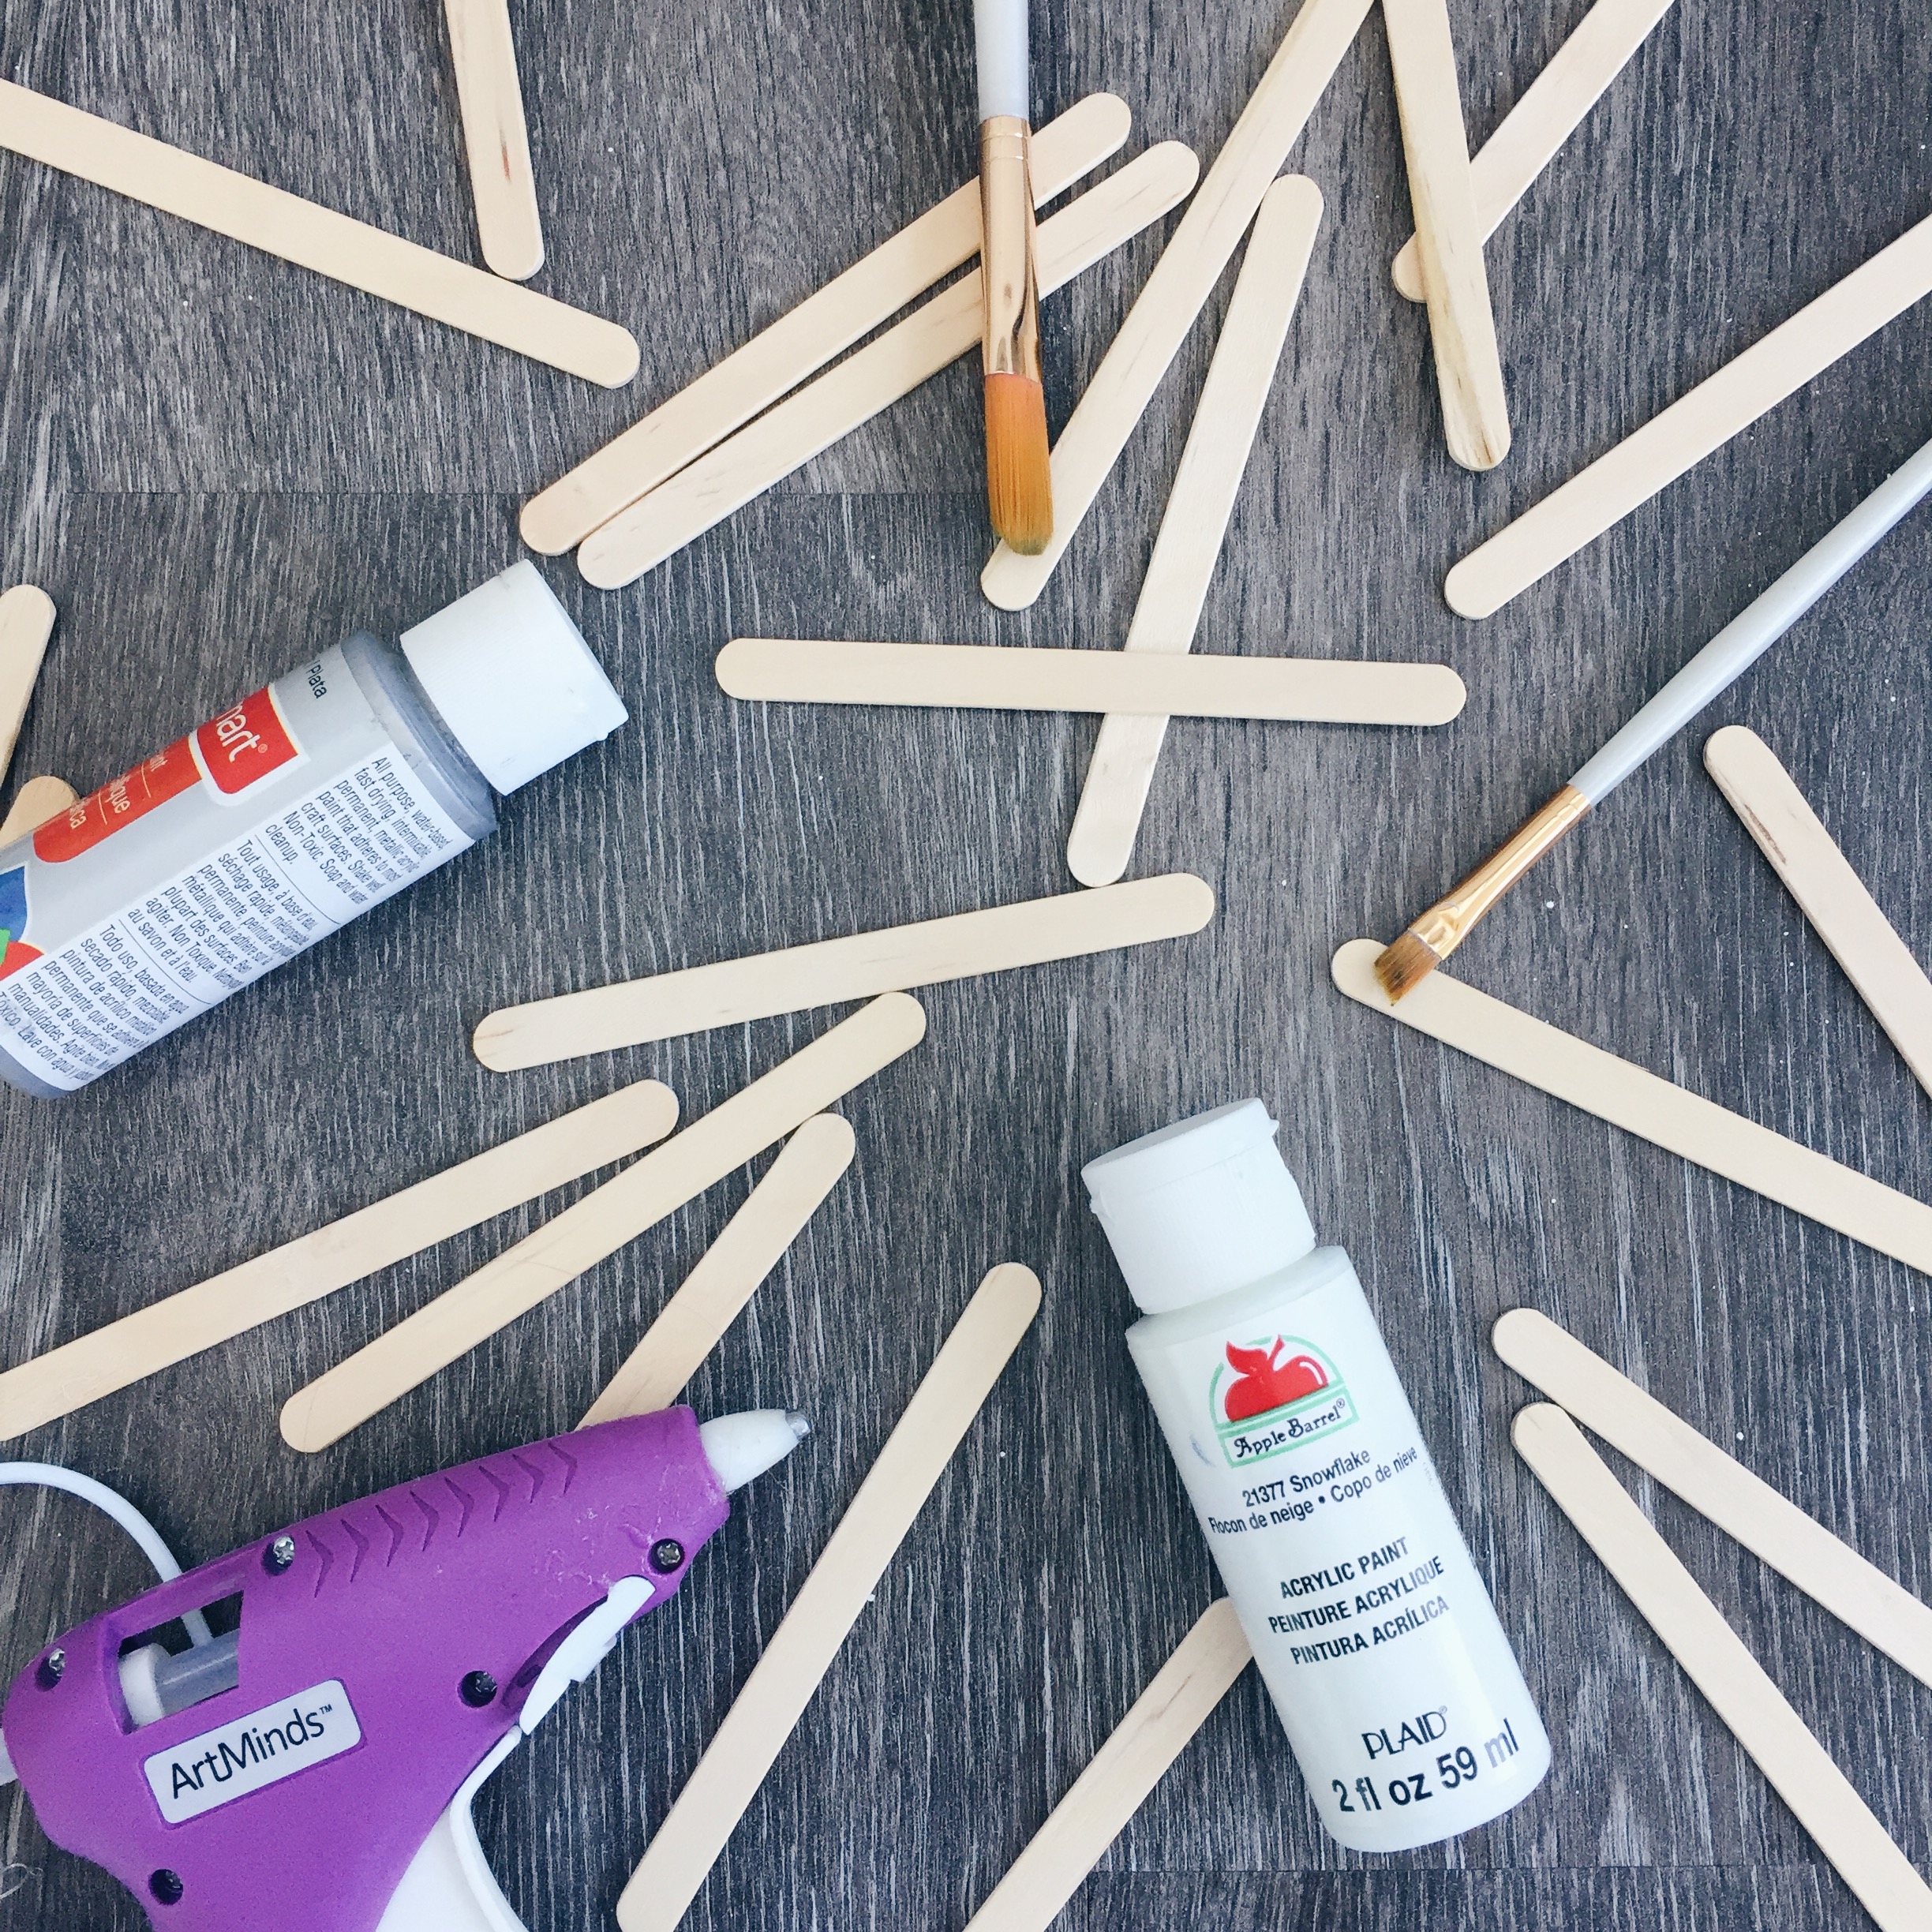
Materials
Popsicle sticks
Hot glue gun & glue
Paint
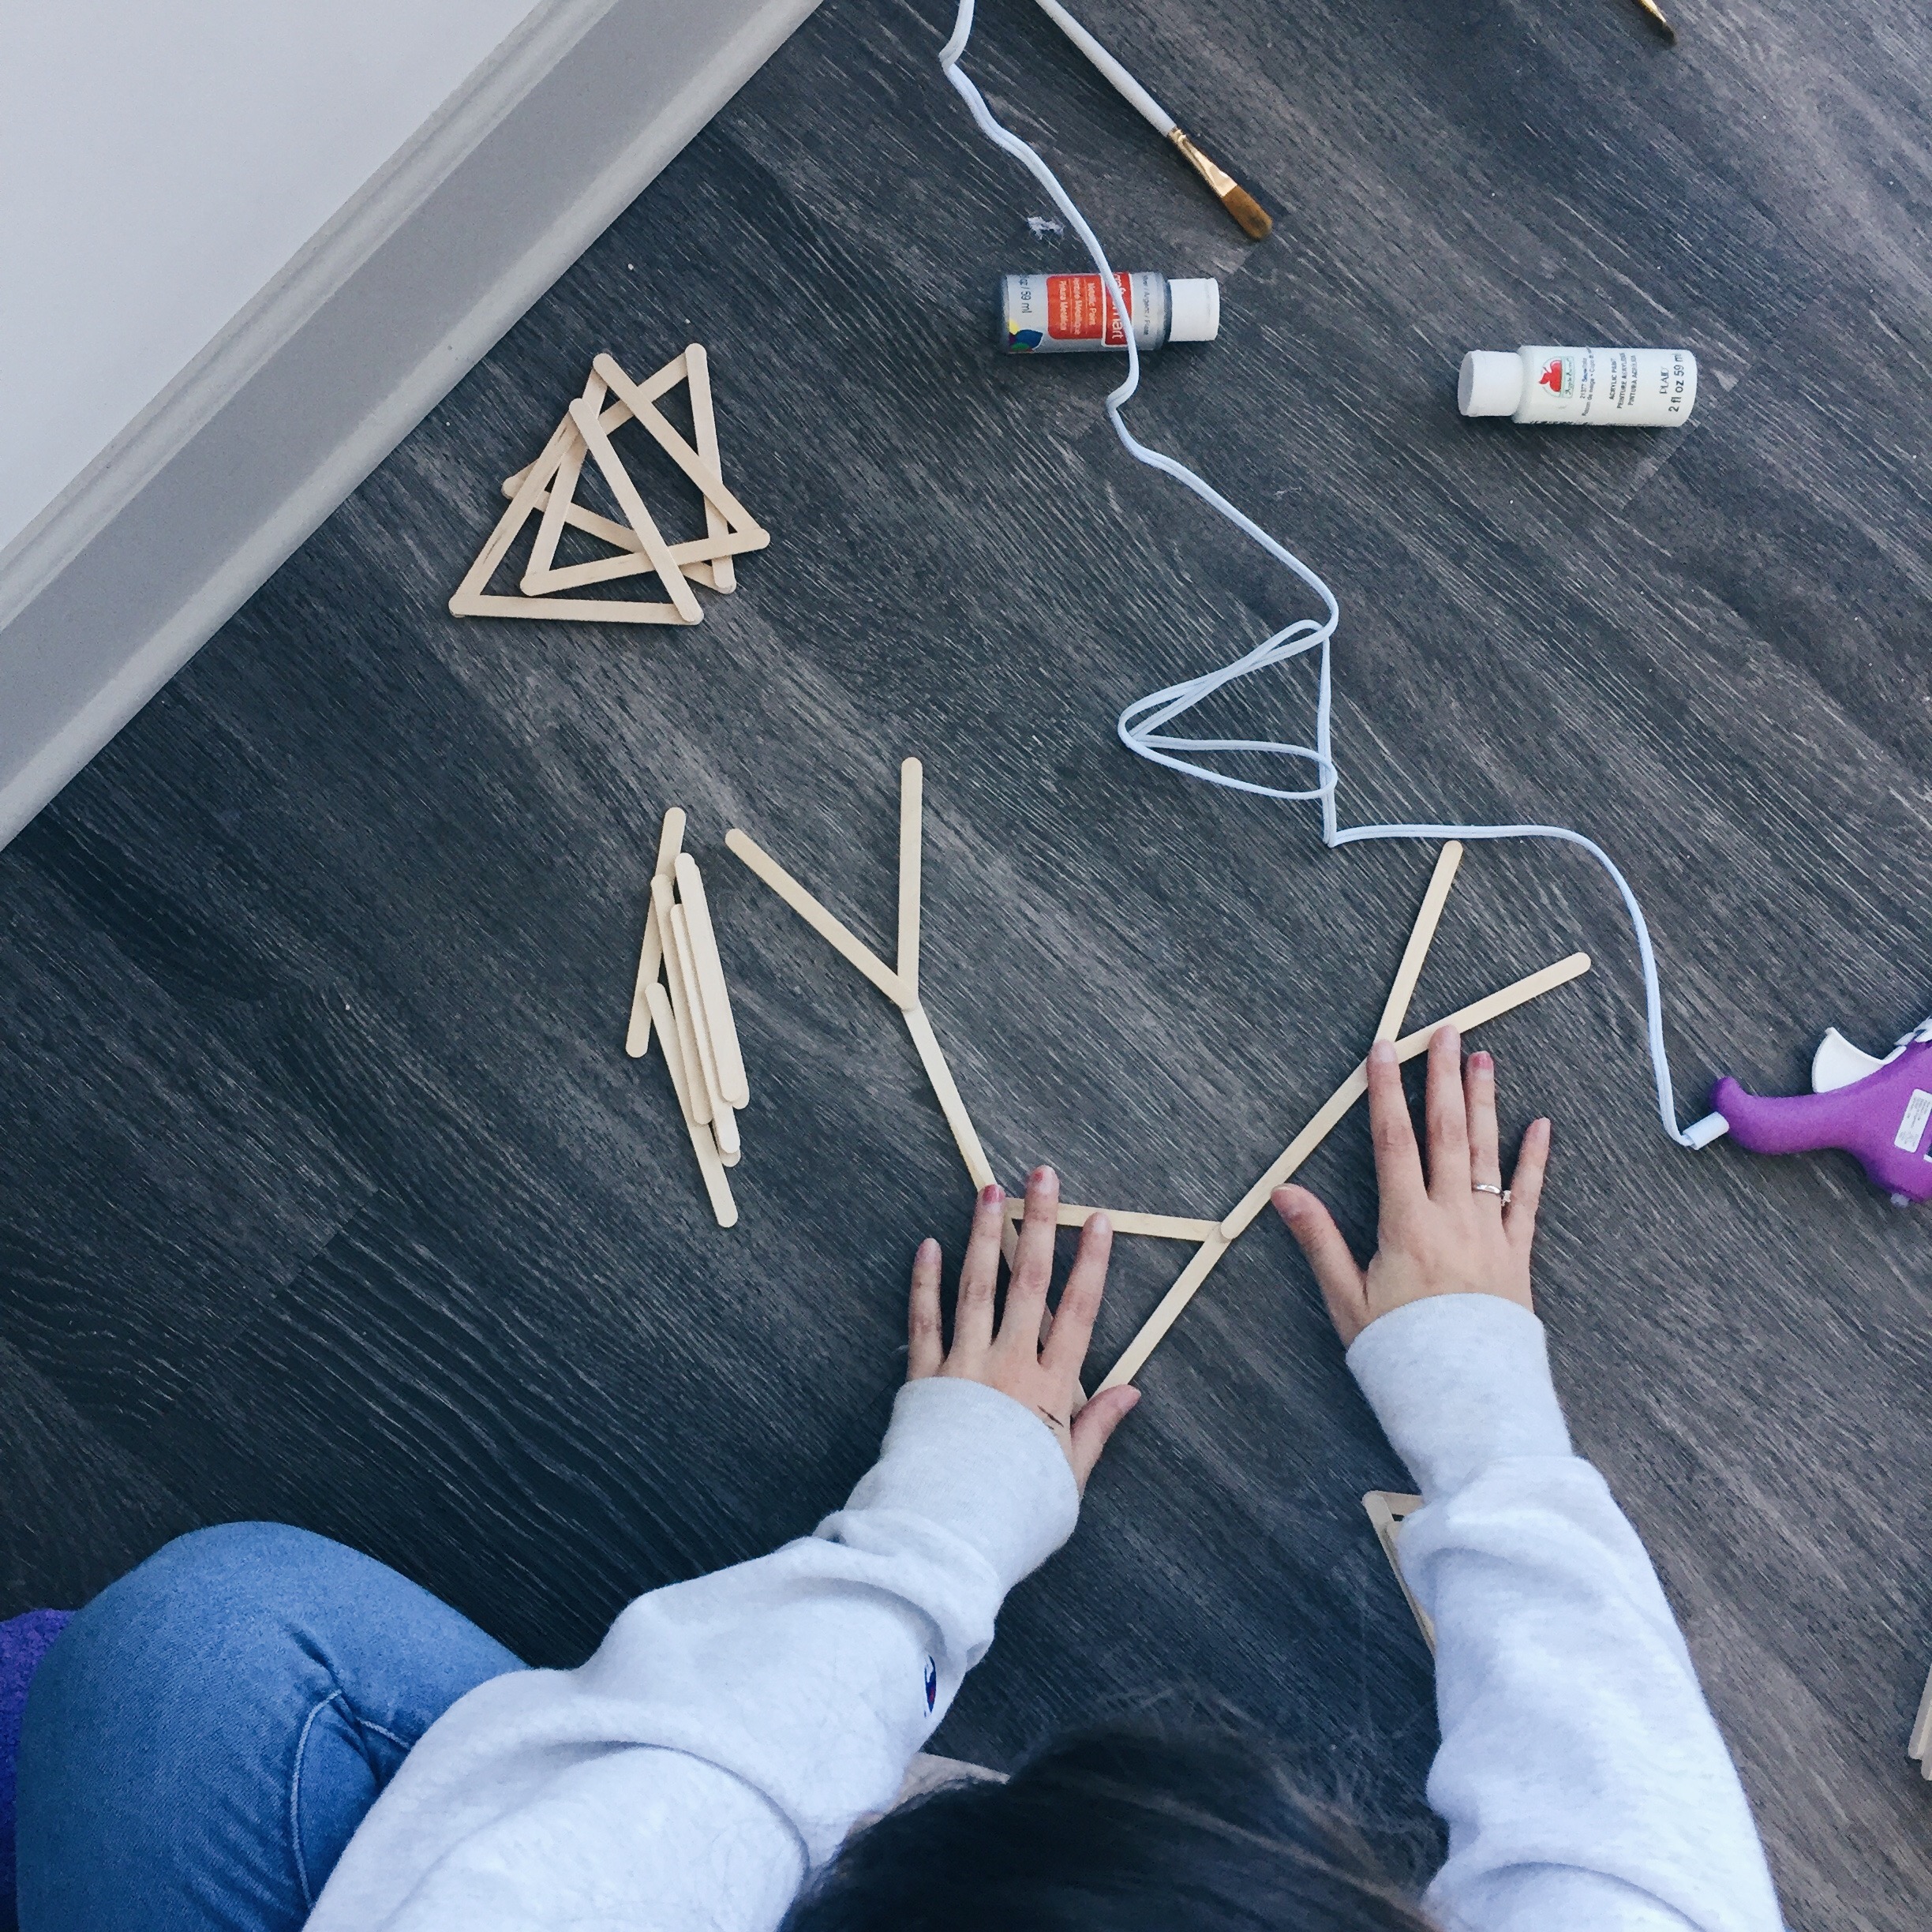
Step 1
Choose the design of your snowflakes. Feel free to copy mine or come up with something creative on your own! Hot glue popsicle sticks together to make your design.
Step 2
Paint snowflakes your desired colors. Let dry.
Tips and Tricks
- Use spray paint instead of painting with a paint brush if possible. It makes the process a lot faster.
Cost Breakdown
- Popsicle sticks = $6.00 for 200 sticks
- Paint = $0, I already owned the paint colors I wanted, but as stated before, three colors of paint cost about $1.50.
- Hot glue gun & glue sticks = $0.
- Total = $6.00 (Or $11.50 if you need to buy paint and a hot glue gun.)
To complete all these crafts cost me only $49.00 (Barely under $50.00, but I made it!), and I know I will have them for years to come to make my home feel festive and ready for the holiday season. Even if you did need to buy more materials than I did, it would only cost about $10 extra dollars (You only have to buy a hot glue gun once!). You also don’t have to do every craft! Under $15.00 for a DIY craft is a huge bargain.
Many of the materials used in these crafts can be found around the house or borrowed from friends and family, so utilize resources around you besides your wallet! Also, scope out sales and bargains. JOANN Fabrics and Crafts was having an amazing sale on holiday craft essentials when I purchased all of these materials. I got most supplies for over 60 percent off.
It’s hard to stay in budget during the holiday season, but with these five crafts, you’re sure to save some money, impress your friends, and spruce up your home to enjoy it for the holidays.
Let me know if you tried out any of the crafts on your own in the comments below!
Happy crafting,
Kimberly