
I always find random bobby pins or thumb tacks scattered on my desk that need a home, so I thought no better way to provide them that place to crash than to make a DIY knick-knack dish! This craft cost me less than $10 and took me under an hour to make. What better way to spend a Saturday morning?
Materials
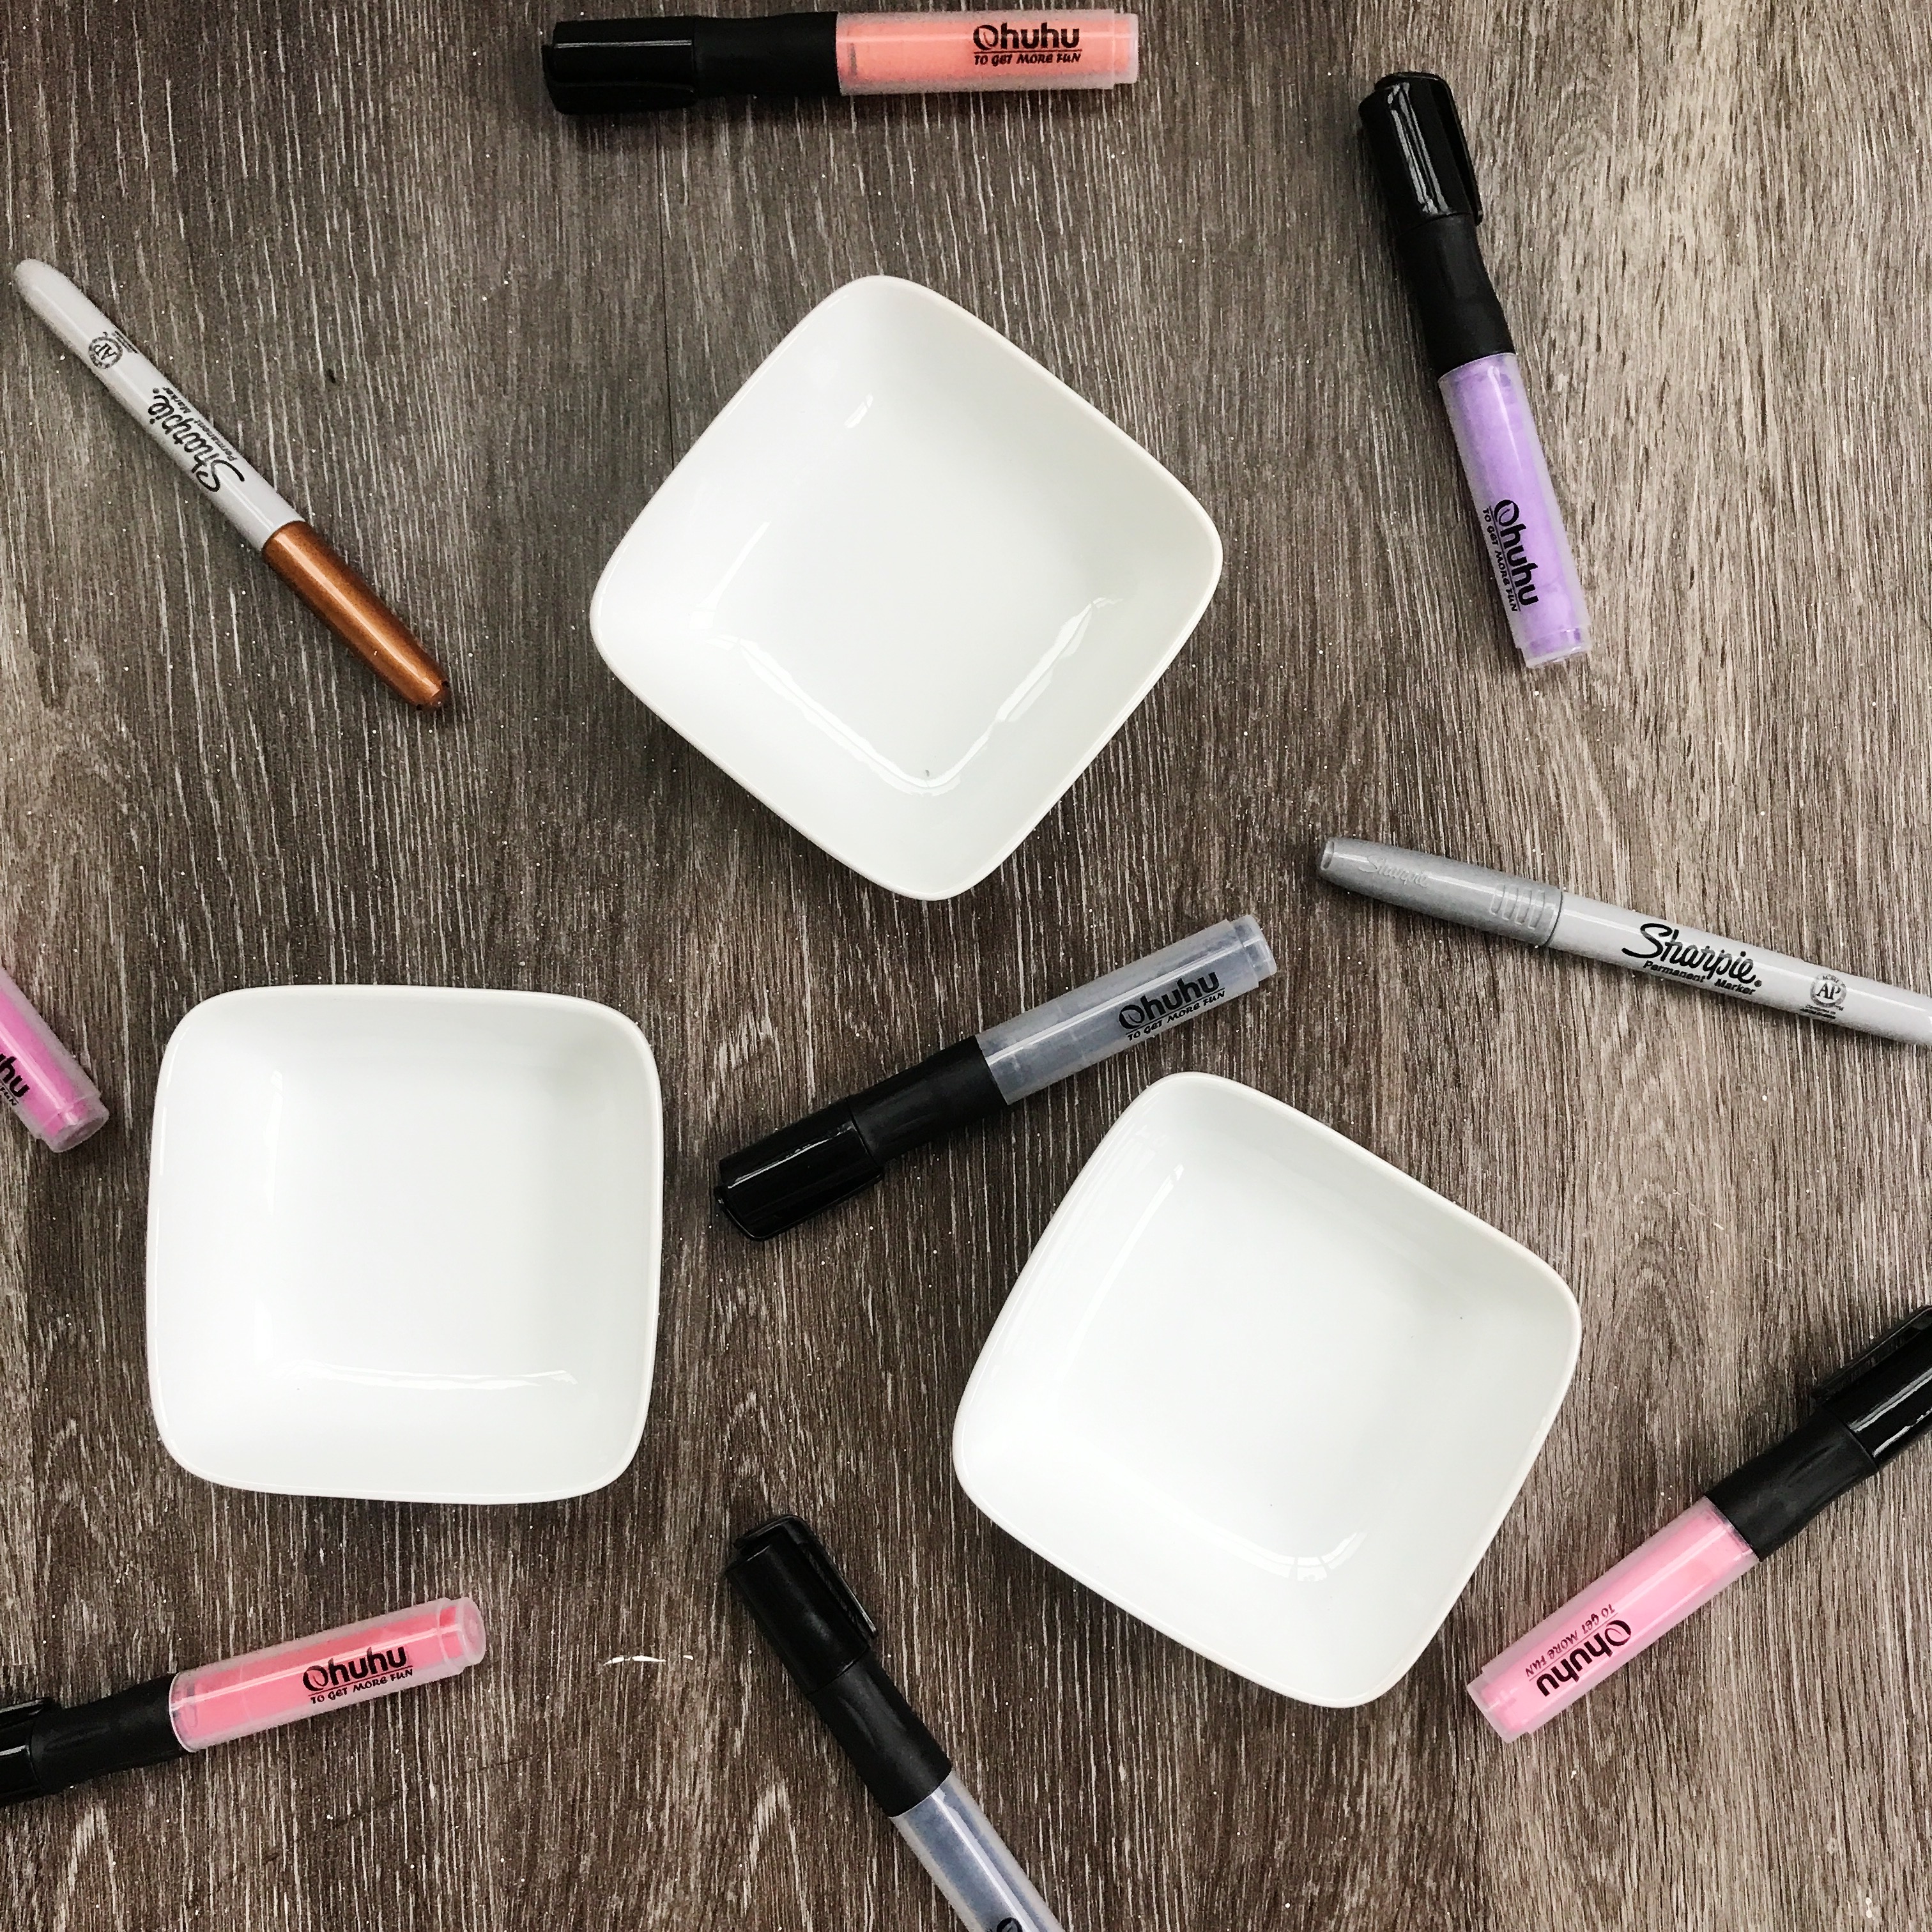
White Porcelain Dishes (I got mine from Target for $2 a piece)
Acrylic Paint Markers (Optional)
Sharpies (Any color)
Saran Wrap (Optional)
Oven
Step One
Make sure your dishes are clean before you start any design. Nothing ruins a good project like dog hair and dust! After you’ve cleaned your dishes, preheat the oven to 300º.
Step Two
Start designing! It’s seriously that easy.
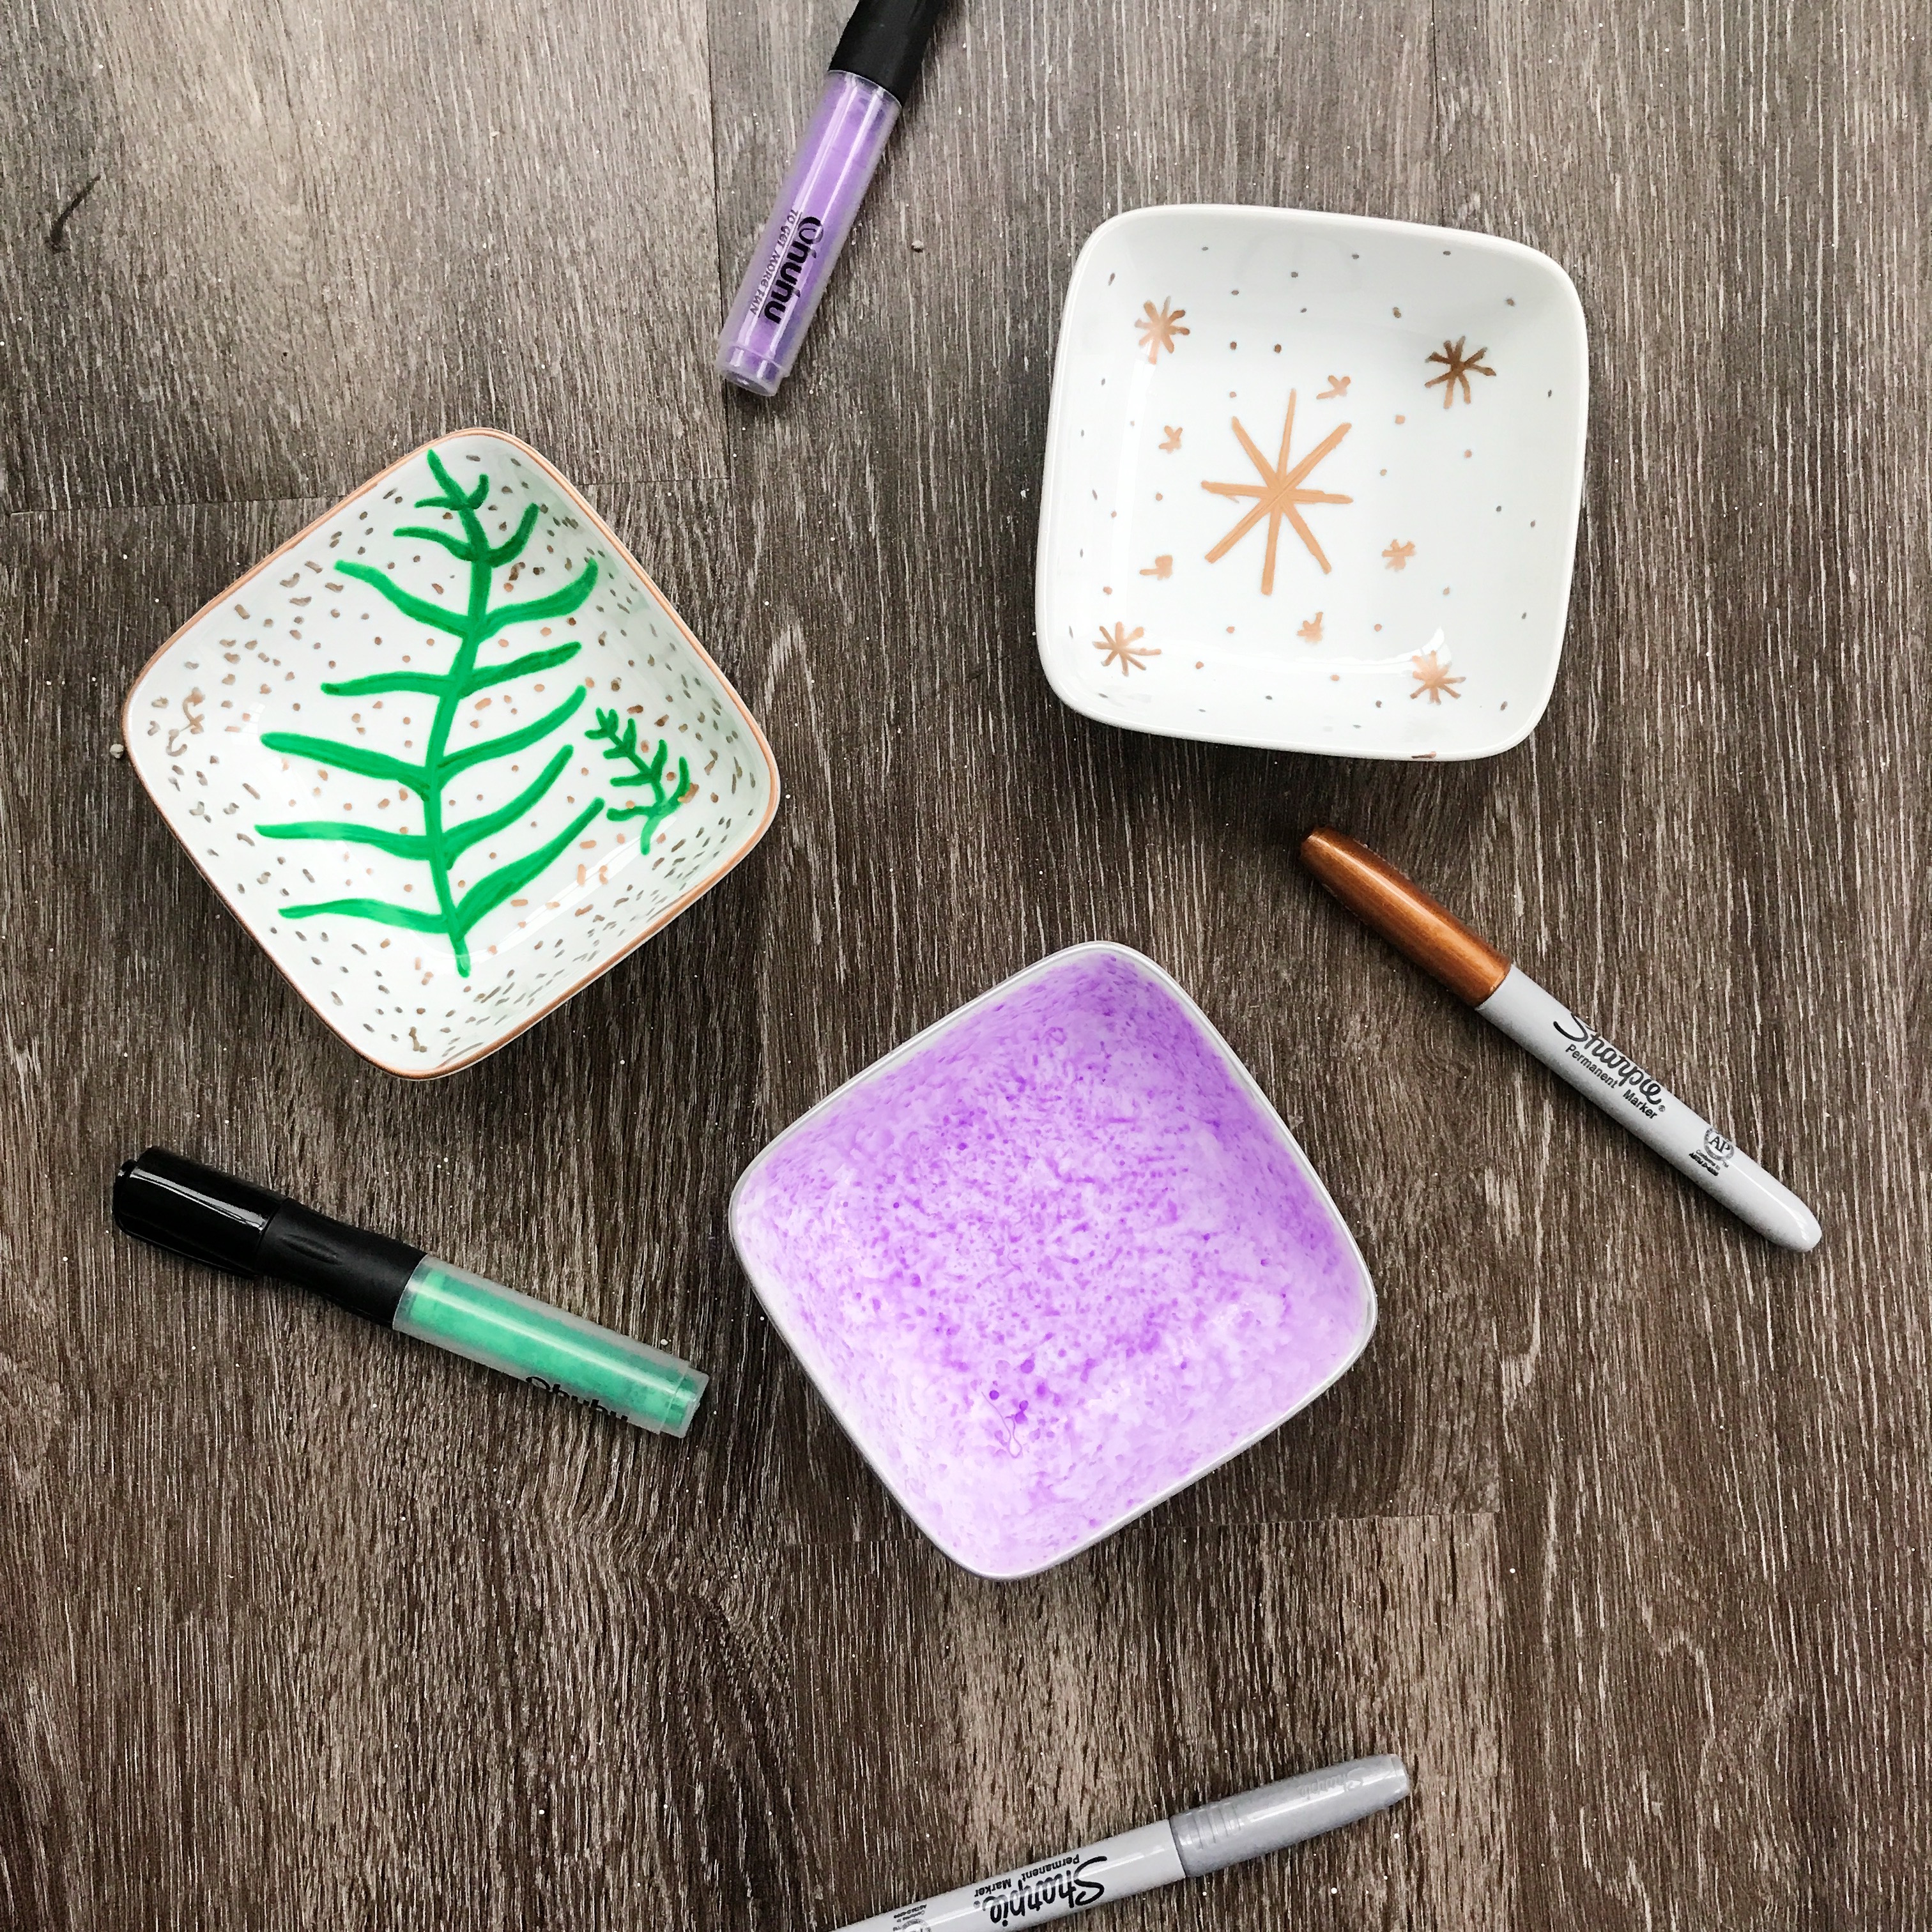
For my first dish, I used a purple acrylic marker and colored all over the base of the bowl. I added some water to dilute the pigmentation, and then, took a piece of saran wrap and dabbed it around the bowl to create some texture. I finished the design off with a silver rim created with a Sharpie. Check out the video of how I made it below!
For my second dish, I free-handed a leaf design and embellished the drawing with a bronze rim and dots.
For my final dish, I kept it super simple with an asymmetrical star design and dots.
Step Three
Pop the finished dishes in the oven for 30-40 minutes to seal the design, and you’re done! Hand wash dishes.
It’s seriously that easy! These dishes are perfect to sit on your bathroom counter to plop some earrings in or place on your desk to toss spare change into. You can keep them for yourself or give them away as personalized gifts. The options are endless! Also, as you can tell, these definitely don’t have to be perfect. I am no artist by any means, but I like to have fun with crafts like this. My brother’s girlfriend gave me the acrylic paint markers as a gift, but Sharpies are an easily accessible crafting supply and work perfectly as a substitute.
Bonus: If you mess up, you can easily erase the design and start over by washing the dish with a sponge and some soap!
Let me know what designs you decide to do on your own knick-knack dishes in the comments below!
Happy crafting,
Kimberly
This is such an awesome and simple little craft idea, I love it! Can’t wait to try.